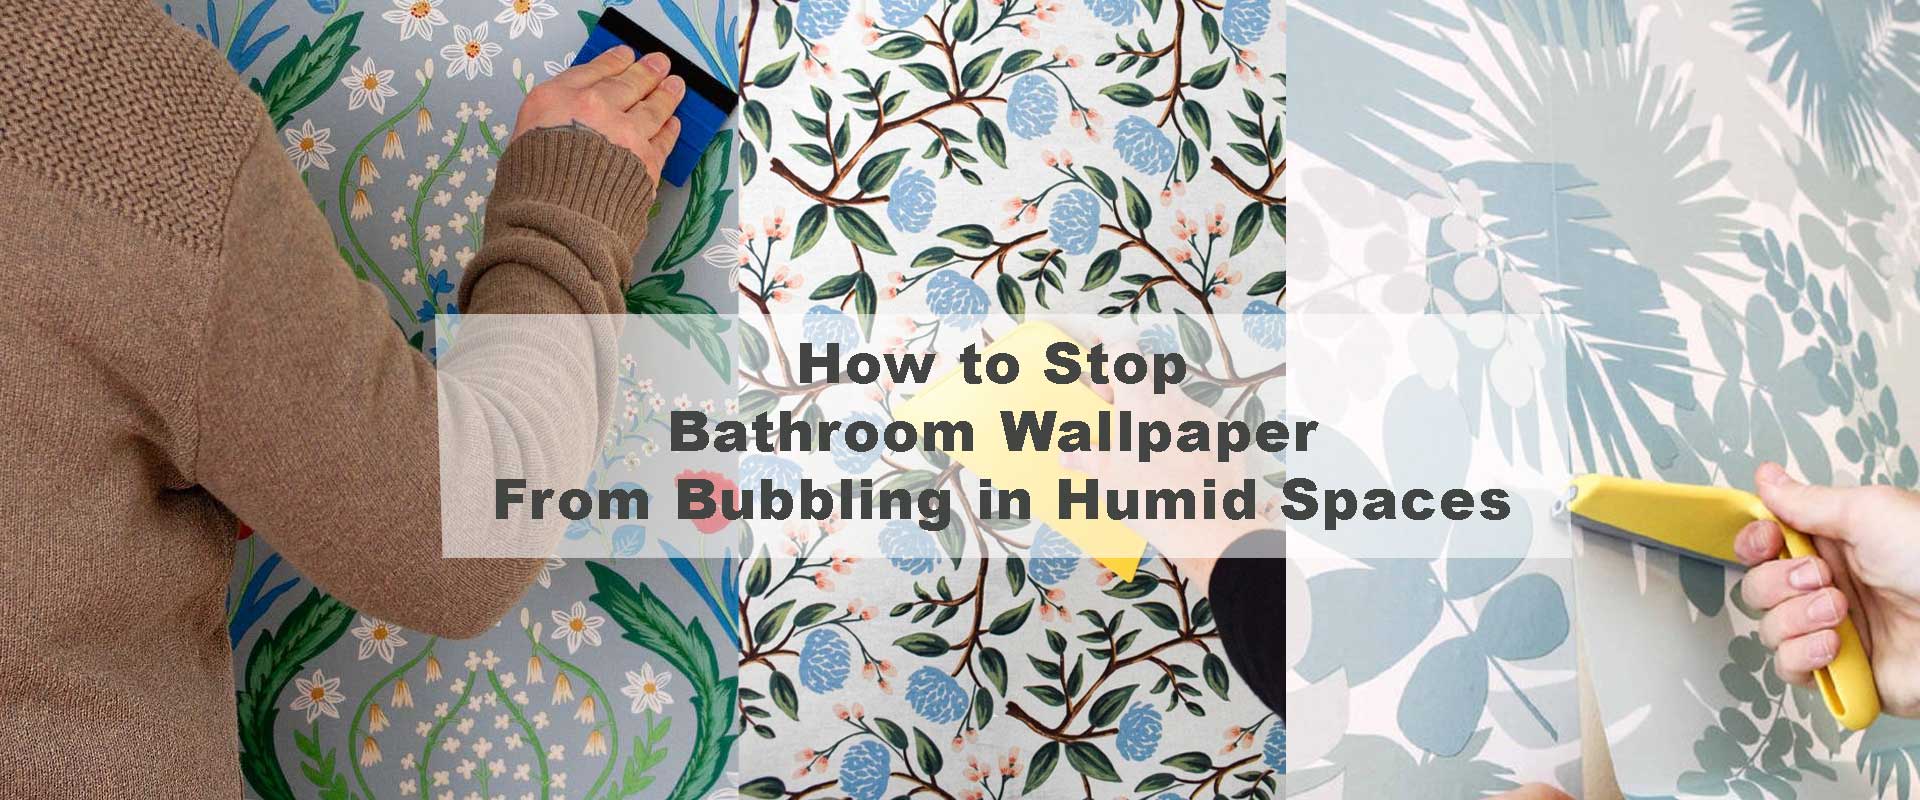
How to Stop Bathroom Wallpaper From Bubbling in Humid Spaces
If you’ve ever walked into your bathroom only to find your wallpaper lifting, wrinkling, or bubbling across the surface, you’re not alone. It’s one of the most common issues homeowners face when decorating with wallpaper in moisture-prone areas. Knowing how to stop bathroom wallpaper from bubbling in humid spaces isn’t just about fixing an annoying imperfection—it’s about ensuring your design investment lasts. While bubbling can be caused by poor installation, it’s usually the result of how wallpaper interacts with moisture, heat, and bathroom-specific conditions over time.
Humidity causes wallpaper to expand and contract, which puts stress on the adhesive and the surface it’s applied to. In high-moisture areas like bathrooms, this expansion is intensified, and without the right preparation or materials, even the best-looking wallpaper will bubble and fail. That’s why solving the issue requires a mix of the right materials, proper technique, and ongoing maintenance. Fortunately, there are proven strategies to prevent bubbling and keep your wallpaper flawless for years.
Why Wallpaper Bubbles in Humid Bathrooms
Understanding the root cause of wallpaper bubbling starts with understanding what humidity actually does to materials. Bathrooms generate moisture every time you shower or run hot water. This creates steam that rises and collects on surfaces, including walls. When wallpaper is exposed to repeated cycles of dampness and drying, its adhesive can soften and re-activate, leading to small air pockets or bubbles under the surface. These bubbles often form in areas closest to the ceiling, corners, or around plumbing fixtures where air flow is weakest.
Improper adhesive is another common factor. Many wallpapers come pre-pasted, but these adhesives aren’t always suitable for humid rooms unless they’re specifically designed for high-moisture environments. Even with peel and stick wallpaper, quality varies dramatically between brands. For bathrooms, it’s essential to use wallpaper that is labeled as moisture-resistant and apply it using a technique that limits trapped air. The bubbling problem is discussed extensively in articles like how to stop bathroom wallpaper from peeling, which overlaps with similar humidity-related failures.
Common Mistakes That Lead to Bubbling
Applying Wallpaper to Unclean Walls
One of the first and most frequent errors is applying wallpaper to a wall that hasn’t been properly cleaned. Even invisible traces of dust, soap scum, or mildew can interfere with adhesion. When the glue doesn’t bond well, steam easily seeps underneath and creates the perfect environment for bubbling. It’s important to remember that bathrooms are dirtier than they seem due to moisture attracting particles, so wall prep is never optional. The surface must be thoroughly washed, rinsed, and dried before you even unroll your wallpaper.
Skipping the Primer or Liner
Another issue is skipping the priming step. Priming seals the wall and creates a smooth, non-porous surface that enhances adhesion. Without primer, drywall or plaster can absorb adhesive unevenly, leaving behind weak points. Also, never wallpaper over semi-gloss or gloss paint without sanding it down; these finishes are too slick and cause the glue to slide rather than grip. This is especially true when applying peel and stick wallpaper in a bathroom, as explained in can you use peel and stick wallpaper in a bathroom?, where improper surface treatment often leads to early failure.
Installing Wallpaper in a Humid Environment
Timing also plays a critical role. Installing wallpaper while the bathroom is humid—such as after a hot shower—traps moisture under the wallpaper from the start. This sets the stage for bubbles that may not appear until days or weeks later. To avoid this, always install wallpaper in a cool, dry room and avoid running hot water for at least 24 hours after the installation. This gives the adhesive time to fully cure and bond with the wall surface.
Best Wallpaper Types for Humid Spaces
Vinyl-Coated Wallpaper
Choosing the right type of wallpaper for a bathroom is perhaps the most important step in preventing bubbles. Traditional paper wallpaper tends to absorb moisture, causing it to warp and delaminate over time. Instead, opt for materials that are moisture-resistant or specifically designed for wet environments. Vinyl-coated wallpaper is one of the most reliable options because it resists water and can be wiped down easily. This makes it ideal for bathrooms where splashes and condensation are inevitable.
Fabric-Backed Vinyl and Peel & Stick Options
Fabric-backed vinyl is another high-performance choice. It combines durability with flexibility, meaning it can withstand moisture without tearing or bubbling. Peel and stick options are also available in waterproof varieties, but be cautious—many budget versions fail under steam. Make sure to choose products labeled as “bathroom-safe” or “high humidity approved.” For a stylish and durable finish, you can browse collections like geometric bathroom wallpaper, which are specifically designed with humid conditions in mind.
Mold-Resistant and Antimicrobial Wallpaper
You should also consider wallpaper with antimicrobial properties. These contain additives that prevent mold and mildew growth behind the wallpaper—an invisible problem that often contributes to bubbling. When shopping, read the technical specs of each wallpaper type and opt for materials that offer not just moisture resistance but also high adhesion and easy maintenance.
How to Prep Bathroom Walls Properly
Step-by-Step Wall Prep
Proper wall preparation is the cornerstone of any successful wallpaper project, and in bathrooms, it’s non-negotiable. Follow this routine before installing wallpaper:
- Remove all old wallpaper and loose paint.
- Sand down uneven areas and fill holes with spackle.
- Clean walls thoroughly with soap and warm water.
- Rinse and dry completely for at least 24 hours.
- Apply a primer-sealer designed for wallpaper.
Some installers also apply lining paper as a base layer, which acts as a buffer against humidity and creates a uniform surface. This technique is often used in luxury remodels where durability is as important as aesthetics. Collections like bold bathroom wallpaper benefit from this method, ensuring vivid designs hold up even in extreme bathroom conditions.
Ideal Installation Conditions
Wall temperature also matters. Cold walls can cause the adhesive to stiffen prematurely, making it harder to smooth out air pockets. Aim to apply wallpaper when the room is between 65°F and 75°F. If your bathroom is chilly, consider warming the space beforehand using a space heater or running the home heating system for a few hours.
Installation Tips to Avoid Bubbles
Best Practices During Installation
Even with the right materials and prep, poor technique during installation can lead to bubbles. Keep these key practices in mind:
- Start with a plumb line to ensure vertical alignment.
- Apply in small sections, especially with peel and stick wallpaper.
- Use a smoothing tool to push air outward from the center.
- Cut oversized around fixtures, then trim after application.
- Clean tools regularly to prevent adhesive build-up.
In areas around corners, outlets, or fixtures, extra care must be taken. These spots are especially prone to bubbling due to awkward angles and limited access. Proper technique and attention to detail help ensure even complex patterns like those found in bathroom wallpaper collections lay perfectly flat against the wall.
Fixing Small Bubbles Immediately
One trick used by professionals is to use a pin to pop any small air bubbles immediately after application. Then, use the smoothing tool to gently press the area flat. This can prevent a small issue from becoming a large unsightly bubble over time. Be sure to clean your tools between strips to avoid transferring adhesive buildup that could cause uneven application.
What to Do If Bubbles Already Appeared
Step-by-Step Repair Method
When wallpaper bubbling has already occurred, immediate attention can help you salvage the surface. Start by gently warming the bubbled area with a hairdryer set to a low setting. Heat will soften the adhesive and make it more pliable for repositioning. Carefully lift the bubbled section just enough to expose the wall underneath, then use a damp cloth to wipe away any debris or moisture.
Next, apply a small amount of wallpaper seam adhesive using a fine brush or syringe-style applicator. Smooth the paper back into place using a plastic smoothing tool or your hand wrapped in a clean cloth. Work from the center out to remove trapped air. Wipe away excess adhesive and let it dry thoroughly for at least 24 hours. For more permanent results, consider reviewing detailed application advice in how to waterproof wallpaper for bathrooms where sealing techniques can also help prevent future bubbling.
When to Replace Instead of Repair
If the bubbling is extensive or the adhesive has completely failed, replacement may be the only long-term solution. Peeling back large areas of wallpaper risks further tearing or stretching, especially with paper-based or low-quality materials. In these cases, it’s best to remove the damaged section entirely, prepare the wall properly, and reapply a fresh piece of wallpaper. Always overlap seams slightly to maintain design continuity and prevent new edges from lifting prematurely.
Long-Term Maintenance Tips
- Ventilation is everything: Always run an exhaust fan or open a window during and after showers.
- Wipe condensation daily: Use a microfiber cloth to remove moisture from walls.
- Avoid scrubbing: Clean wallpaper gently using a damp cloth and mild soap if needed.
- Inspect seams monthly: Press down any lifting edges early before bubbling spreads.
- Apply sealant yearly: Use a clear edge sealant to reinforce seams in high-humidity zones.
By following a proactive maintenance routine, your bathroom wallpaper can last 5–10 years even in the most moisture-prone conditions. Learn how different wallpaper types perform over time in is bathroom wallpaper durable enough for family homes?.
Expert-Level Prevention Advice
Experts often use extra protective layers like lining paper or waterproof membranes to block moisture transfer from the wall. They also recommend scheduling wallpapering on dry, low-humidity days. When in doubt, test a small strip of wallpaper in your bathroom for one week before doing the full wall to see how it holds up. Lastly, avoid wallpapering directly behind the sink or inside a shower enclosure—tiles or waterproof panels work better there.
FAQs About Wallpaper Bubbling
Will wallpaper bubbles disappear on their own?
Not usually. In humid conditions, they tend to worsen over time. Immediate repair is recommended.
Can I install wallpaper if my bathroom doesn’t have a fan?
You can, but you’ll need to use moisture-resistant wallpaper and ensure frequent ventilation through windows or dehumidifiers.
Should I use glue even if the wallpaper is peel and stick?
In very humid spaces, a light layer of wallpaper adhesive under peel and stick panels can improve long-term bonding.
What’s the safest cleaner for bathroom wallpaper?
A damp cloth with warm water. Avoid harsh chemicals or abrasives, especially on printed surfaces.
Comparison Table: Causes vs. Solutions
| Cause of Bubbling | Prevention or Fix |
|---|---|
| High humidity | Use ventilation, seal edges, wipe walls regularly |
| Dirty or dusty surface | Clean thoroughly before installation |
| Wrong adhesive or wallpaper type | Choose vinyl, moisture-resistant, bathroom-safe types |
| Poor application technique | Apply in sections, smooth with tools, pop bubbles early |
| Installed on wet walls | Let walls dry fully, avoid wallpapering post-shower |
Conclusion
Stopping bathroom wallpaper from bubbling comes down to one core principle: control moisture, prep well, and install smart. From choosing the right wallpaper to mastering the art of application and maintenance, each step matters. If you want a wallpaper look that lasts, make moisture resistance your top priority.
Ready to upgrade your space? Explore our bathroom wallpaper collection for high-performance styles that don’t compromise on beauty or durability.