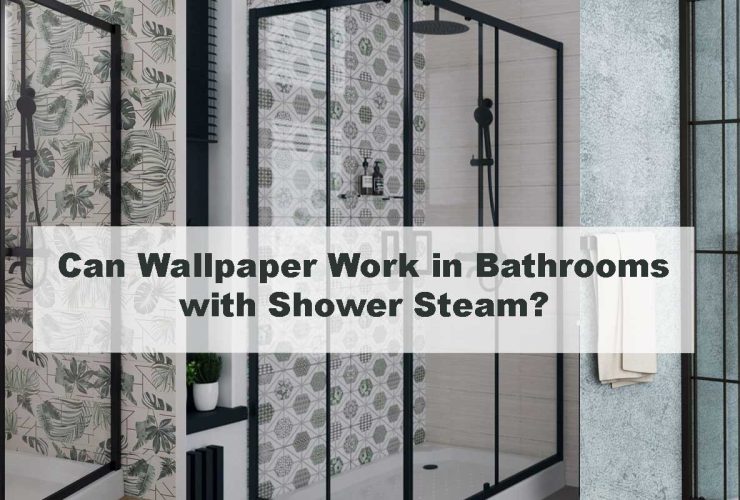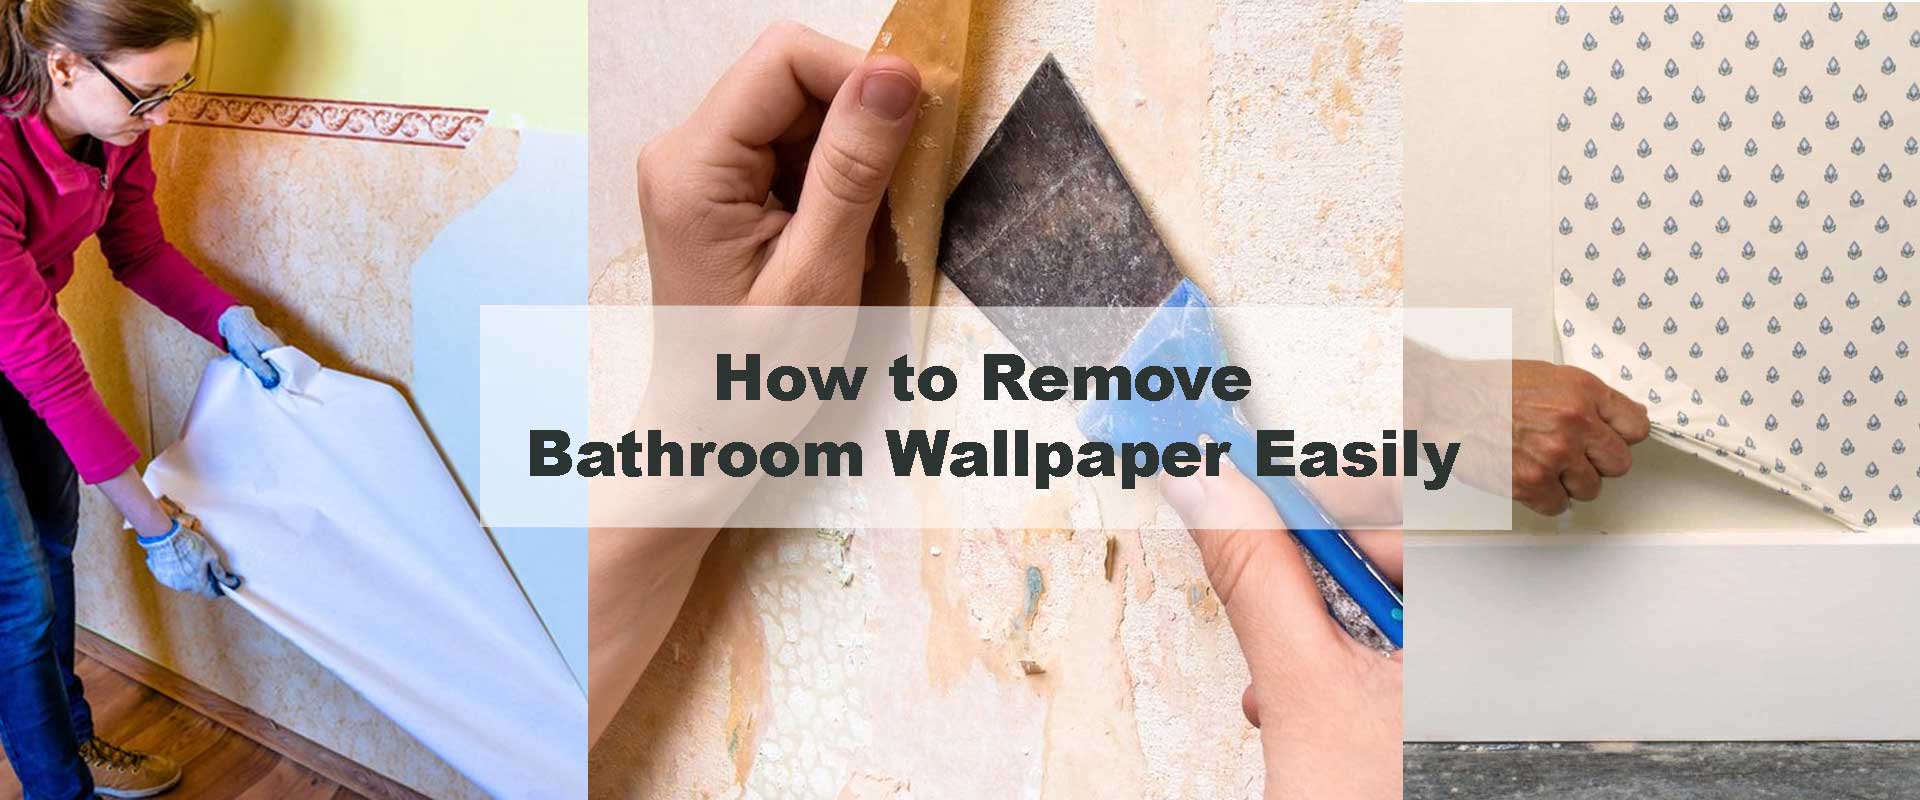
How to Remove Bathroom Wallpaper Easily
Bathroom wallpaper can transform a plain room into a stylish retreat, but when it starts peeling, bubbling, or feels outdated, it’s time for a refresh. Many homeowners worry that removing bathroom wallpaper will be messy and complicated. The truth is, with the right tools and step-by-step approach, you can remove it smoothly and prepare your walls for a fresh new look. Whether you plan to paint, tile, or install a modern design from the bathroom wallpaper collection, proper removal ensures your new finish lasts longer and looks flawless.
Why Bathroom Wallpaper Removal Requires Special Attention
Unlike bedrooms or living spaces, bathrooms are exposed to steam, splashes, and constant humidity. This environment weakens wallpaper adhesive in some spots while making it stubborn in others. Moisture can even cause mold behind wallpaper, making removal essential rather than optional. By learning how to remove bathroom wallpaper carefully, you can prevent wall damage and prepare the perfect foundation for your next design upgrade.
Tools and Supplies You Will Need
Gathering the right tools before starting makes the process faster and less stressful. You’ll need:
- Scoring tool or sharp utility knife
- Spray bottle with warm water or wallpaper remover solution
- Plastic sheets or drop cloths
- Putty knife or scraper
- Sponge, dish soap, and vinegar
- Fine-grit sandpaper
- Ladder for higher areas
- Handheld steamer for stubborn wallpaper
Having these ready ensures you can move through each step without interruptions.
Step-by-Step Guide: How to Remove Bathroom Wallpaper
Step 1: Prepare the Bathroom
Cover sinks, vanities, and flooring with plastic sheets or towels. Bathrooms are tight spaces with lots of fixtures, so protecting surfaces prevents water and adhesive from causing damage. Remove shelves, mirrors, or small accessories from walls before starting.
Step 2: Identify the Wallpaper Type
Peel and stick wallpaper often comes off easily when lifted at a corner. Vinyl wallpaper, common in humid spaces, has a water-resistant surface that requires scoring and soaking. Traditional wallpaper usually responds well to warm water but may have multiple layers if the bathroom has been redecorated before.
Step 3: Score the Wallpaper Surface
Use a scoring tool to create tiny perforations across the wallpaper. This allows water or remover solution to seep through and loosen the adhesive. Work gently to avoid damaging drywall beneath.
Step 4: Apply Warm Water or Solution
Mix warm water with dish soap or vinegar and spray generously across the wallpaper. Allow it to soak for at least 10 to 15 minutes. For vinyl wallpaper, consider using a stronger commercial remover since the surface resists water.
Step 5: Peel the Wallpaper
Once softened, use a putty knife to lift a corner and begin peeling. Pull slowly and evenly, working in sections from bottom to top. For small bathroom wallpaper, seams may be closer together, so additional soaking may be required to avoid tearing.
Step 6: Remove Adhesive Residue
Wallpaper often leaves behind sticky patches. Use a sponge and warm soapy water to scrub away residue. For stubborn glue, vinegar or a wallpaper adhesive remover will help. Removing every trace of adhesive ensures smooth walls for your next design.
Step 7: Dry and Smooth the Walls
Let the walls dry completely. Sand lightly to remove any rough spots or bumps. This step is especially important if you plan to install powder room wallpaper or bold designs where imperfections could be visible.
Using Steam for Difficult Wallpaper
When wallpaper refuses to budge, a handheld steamer is highly effective. The steam penetrates layers quickly, softening adhesive and allowing larger sections to peel off. Work in small areas to avoid condensation buildup. This method takes patience but reduces the chance of damaging drywall.
Challenges You May Encounter
Wallpaper Tearing in Strips
If the wallpaper keeps tearing instead of peeling smoothly, it hasn’t absorbed enough solution. Spray again and wait longer before scraping.
Adhesive Stains on Walls
Yellowish stains sometimes appear after removal. A vinegar scrub or baking soda paste usually clears them without damaging the wall surface.
Hidden Mold Behind Wallpaper
Bathrooms are prone to hidden mold. If black spots appear, clean with diluted bleach and improve ventilation before applying new wallpaper. Mold-resistant options like textured bathroom wallpaper can help prevent future issues.
Tips for Easier Removal
- Work in smaller sections for better control
- Use lukewarm water instead of hot to avoid damaging paint layers underneath
- Ventilate the bathroom with a fan or open window
- Repair any holes or dents in the drywall before priming
Should You Paint Over Bathroom Wallpaper Instead
Painting over wallpaper may seem like a shortcut, but in humid bathrooms it rarely lasts. Paint can cause bubbling and visible seams. For the smoothest finish, removal is the better option. If you need a quick solution, peel and stick bathroom wallpaper can be applied temporarily, giving you style without the hassle of repainting.
Preparing Walls for New Bathroom Wallpaper
After removal, prime the walls with a moisture-resistant primer. This prevents mold and ensures new adhesive bonds properly. Choosing designs like modern bathroom wallpaper or even luxury bathroom wallpaper will give your bathroom a polished, updated look. Articles such as How to Prevent Bathroom Wallpaper from Bubbling provide more insight into why proper wall prep is so important.
Eco-Friendly Removal Options
For those avoiding chemical removers, household ingredients can work just as well. Vinegar mixed with warm water loosens adhesive, while baking soda paste scrubs away residue. These eco-friendly methods are safer for kids, pets, and sensitive bathroom ventilation systems.
DIY vs Professional Wallpaper Removal
Most bathrooms can be handled with DIY methods, but professional removal may be worth considering if:
- The walls have multiple wallpaper layers
- There is significant mold or mildew present
- The walls are older plaster prone to damage
While hiring a professional adds cost, it ensures a fast, clean finish. Still, smaller powder rooms and guest bathrooms are often manageable with a DIY approach.
FAQs About Bathroom Wallpaper Removal
Can I use a hair dryer instead of a steamer?
Yes, a hair dryer can loosen adhesive on small sections, though it is less efficient than a steamer.
How long does the process take?
Between three and six hours depending on the size of the bathroom, the wallpaper type, and adhesive strength.
Will removal damage drywall?
Not if you soak wallpaper thoroughly and peel carefully. Avoid aggressive scraping.
Do I need to wash walls after removal?
Yes, washing ensures no adhesive remains and prepares the wall for priming.
What type of wallpaper should I use next?
Vinyl, textured, or peel and stick designs are the best choices for humid bathrooms. You can also read Is Vinyl Wallpaper Good for Bathrooms? for more detailed insights.
Conclusion
Removing bathroom wallpaper is all about patience, the right tools, and proper technique. By scoring, soaking, peeling, and cleaning carefully, you’ll achieve smooth walls ready for new décor. Once prepped, your bathroom becomes a blank canvas for stylish updates such as botanicals, geometrics, or bold prints from the bathroom wallpaper collection. With careful removal and preparation, your next design will not only look beautiful but also stand the test of time in a moisture-filled space.