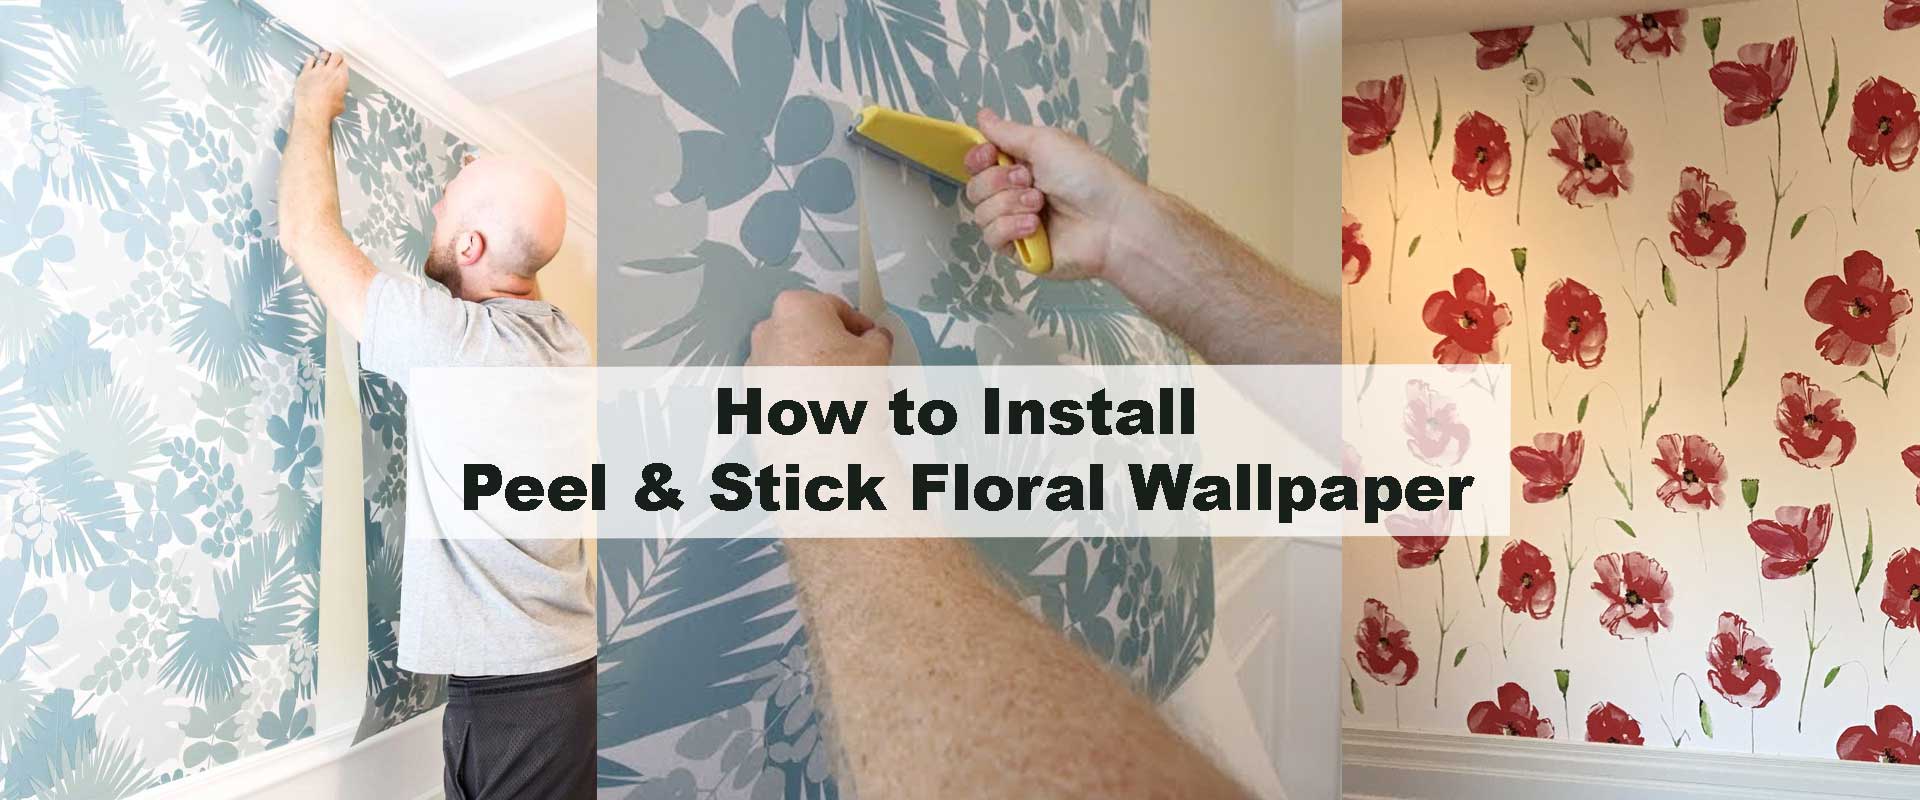
How to Install Peel & Stick Floral Wallpaper
Peel & stick floral wallpaper has redefined interior styling, allowing anyone to refresh walls with ease and creativity. Whether transforming a serene bedroom or uplifting a hallway, this removable design solution offers charm without the mess of glue. In this guide, we’ll show you how to install peel & stick floral wallpaper perfectly—covering wall prep, application, design ideas, and aftercare that keeps your space beautiful for years.
Why Choose Peel & Stick Floral Wallpaper?
Floral wallpaper infuses personality, warmth, and movement into a space. The peel & stick version takes it further by pairing beauty with practicality—ideal for renters or frequent style changers.
It offers quick transformation, damage-free removal, and unmatched flexibility. With options ranging from airy watercolor blossoms to dramatic blooms, floral walls can evoke serenity or confidence depending on pattern and hue. Interior designers often mix tones from floral wallpapers collections, choosing between vintage florals for timeless charm or modern floral wallpapers for a contemporary edge that pairs beautifully with minimal furniture lines.
Preparing Walls for a Flawless Finish
Preparation is the foundation of a lasting result. You’ll need:
- Measuring tape, pencil, and level
- Utility knife with extra blades
- Squeegee or smoother
- Step stool
- Microfiber cloth
Clean & Smooth the Surface
Wipe down walls to remove dust and oils. Patch any holes, sand rough areas, and ensure surfaces are fully dry. Recently painted walls should cure for at least two weeks before installation.
Measure & Plan Your Layout
Measure wall height and width precisely. Plan your panel order and mark a straight vertical guideline to maintain perfect alignment. Accurate prep saves time when pattern-matching large florals—especially for multi-panel murals.
Step-by-Step Guide to Installing Peel & Stick Floral Wallpaper
Step 1: Align and Visualize the Pattern
Before the first strip touches the wall, unroll all panels across the floor and align the blooms. Ensure every petal, stem, or vine flows gracefully from one panel to the next—especially in large-scale prints. This step helps you visualize how the pattern breathes across the wall, guiding your eye for balance and continuity. Even subtle floral shifts can transform how natural the final composition feels.
Step 2: Peel the Top Edge with Care
Begin at the top of your marked guideline. Gently peel back 8–10 inches of the backing paper and position the adhesive edge along your line. Avoid rushing—think of this as laying the first stroke of an artwork. Use light pressure to allow repositioning if the pattern needs adjustment. This patience sets the tone for the entire wall and ensures a crisp, clean start.
Step 3: Smooth in Graceful Motions
As you work downward, peel the backing a little at a time. Smooth the wallpaper using a squeegee or clean microfiber cloth, pressing from the center outward in slow, sweeping motions. This process not only eliminates bubbles but also activates the adhesive evenly, giving the paper a natural, seamless cling. The rhythm of smoothing becomes meditative—revealing the bloom of your new design layer by layer.
Step 4: Trim with Precision
Once the panel reaches the floor, trim the top and bottom edges carefully using a sharp blade and a straight edge. Replace blades often to avoid frayed edges, particularly when working with textured finishes or metallic inks. A clean trim enhances the sophistication of the entire installation—think of it as tailoring a bespoke garment to fit your wall perfectly.
Step 5: Match and Continue Seamlessly
Each subsequent panel should align precisely with the previous one, ensuring petals meet stems flawlessly. Whether you’re joining pastel botanicals or bold tropical florals, step back periodically to assess flow and symmetry. Maintain even tension—neither stretching nor compressing the film—to preserve pattern proportion. This stage is where your wall comes alive in full bloom, reflecting harmony between craftsmanship and creativity.
Working Around Corners and Fittings
Corners and wall features often define the quality of your installation. Handle them thoughtfully to maintain that professional finish.
Inside Corners
Gently guide the wallpaper into the corner, wrapping about half an inch around it. Then apply the next panel slightly overlapping the wrapped edge. This technique prevents peeling and keeps the transition soft and natural—ideal when floral motifs meet at delicate angles.
Outside Corners
If possible, continue one uninterrupted panel around the corner. Use minimal pressure to avoid stretching while smoothing. Trim where necessary, following the curve of the wall. This method gives a sculpted look, as if the pattern flows organically through the architecture.
Sockets & Switches
Before cutting, switch off the power supply. Remove any outlet covers and smooth the paper over the area, making a small X-shaped incision with your blade. Fold the flaps neatly behind the opening before refitting the cover. This fine attention to detail maintains the wallpaper’s integrity and ensures the floral rhythm remains uninterrupted across the wall.
Styling Insights: Floral Wallpapers That Fit Every Room
Floral patterns are as diverse as nature itself—each with a distinct emotional tone. Bedrooms feel soft and romantic with blush peonies, while home offices benefit from greens and greys that support focus, as shown in guides like Floral Wallpapers That Boost Productivity.
Living rooms often welcome bolder compositions found in floral wallpapers for living rooms, while subtle designs from floral wallpapers for bedrooms enhance intimacy and relaxation. For small or shared spaces, the gentle balance between pattern and calm color is similar to the styling harmony discussed in How to Mix Animal & Floral Wallpapers for Kids, where visual rhythm replaces visual noise.
Expert Tricks for a Seamless Installation
| Step | Technique | Why It Works |
|---|---|---|
| 1 | Apply in daylight | Highlights bubbles and misalignments early |
| 2 | Slight overlap on seams | Prevents visible gaps over time |
| 3 | Use gentle heat | Helps adhesive grip during cool weather |
| 4 | Tape ceiling edges | Protects paint while trimming |
| 5 | Repress seams next day | Ensures long-term hold after settling |
Such fine details turn a quick DIY project into a high-end finish worthy of professional spaces.
Finishing Touches and Care
Once complete, let your wallpaper rest for 24 hours. Gently wipe with a damp, lint-free cloth to remove any dust. Avoid harsh cleaners or sharp edges.
Rooms prone to humidity—like kitchens and bathrooms—benefit from specialized designs such as floral wallpapers for bathrooms or floral wallpapers for kitchens. These are printed on durable films that resist moisture while maintaining crisp color integrity.
If you’re designing creative workspaces, pairing florals with botanical neutrals inspired by Subtle Floral Wallpaper for Professional Home Offices adds calm sophistication while keeping focus intact.
Troubleshooting Common Issues
| Issue | Likely Cause | Quick Fix |
|---|---|---|
| Air bubbles | Trapped air during smoothing | Lift area slightly, re-smooth gently |
| Curling edges | Humidity or uneven pressure | Warm with hairdryer, press flat |
| Misalignment | First panel off-plumb | Reposition from top using guideline |
| Adhesion loss | Textured paint or dust | Clean, dry wall; apply new section |
These quick adjustments ensure lasting perfection long after installation day.
Design Flexibility of Peel & Stick Florals
Floral wallpapers come in various styles, each altering spatial mood:
- Watercolor Florals evoke calm with blurred petal edges, similar to patterns in floral wallpapers watercolor.
- Vintage Florals add nostalgic elegance—beautiful with antique brass and aged oak.
- Dark Florals create dramatic luxury, ideal for accent walls or cozy corners inspired by nature.
Each style tells a different story, making peel & stick designs adaptable to any décor—from romantic to refined modern minimalism.
Environmental Benefits
Peel & stick wallpapers are often made with eco-certified inks and recyclable liners, minimizing waste compared to traditional pastes. This sustainable advantage aligns with today’s conscious design movement, allowing you to decorate beautifully and responsibly.
FAQs About Peel & Stick Floral Wallpaper
1. Can peel & stick floral wallpaper be reused?
Yes. Carefully remove and place back on the liner—it can be reused on other smooth walls without losing adhesive quality.
2. How long does it last?
With good care, high-quality wallpaper can stay pristine for 3–5 years or more, depending on exposure and maintenance.
3. Is it suitable for kitchens or bathrooms?
Absolutely. Just select moisture-tolerant types and avoid direct splashes.
4. Can it hide imperfections?
Minor flaws, yes—but textured or rough walls may need a primer base for even adhesion.
5. What’s the best way to remove it?
Gently peel from a corner at a 45-degree angle. Use mild heat to release stubborn areas.
Final Thoughts
Installing peel & stick floral wallpaper combines creativity, convenience, and craftsmanship. With a few tools and patience, you can transform any wall into a statement of color and elegance. Every step—from preparation to pattern matching—brings you closer to an interior that feels thoughtfully curated.
For refined inspiration, the floral wallpapers collection offers endless variations—from subtle watercolor tones to dark florals that exude depth and drama. Let your walls bloom beautifully with textures, hues, and stories that reflect your personality and space.