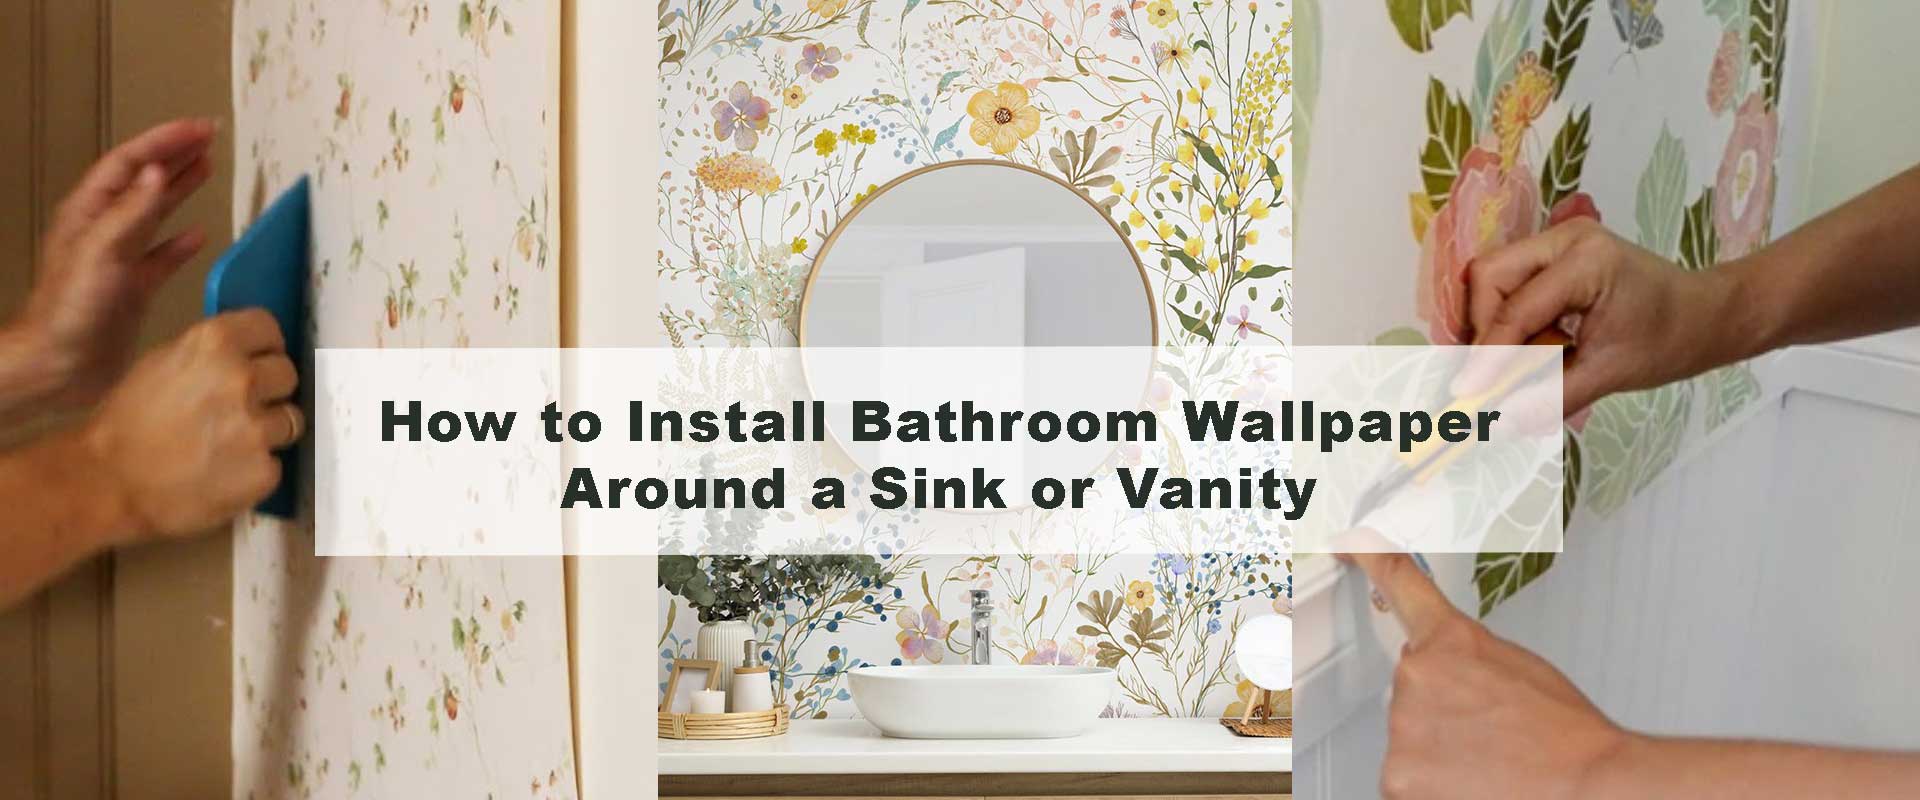
How to Install Bathroom Wallpaper Around a Sink or Vanity
Installing wallpaper in a bathroom has always been considered a bold design choice, but adding it specifically behind a sink or vanity elevates the challenge and the reward. The sink area is one of the busiest spots in the room—constantly exposed to water splashes, toothpaste, and daily use. Many homeowners hesitate, wondering if wallpaper can truly survive in such a high-moisture zone. The answer is yes, provided you prepare properly and select the right materials. This guide will walk you through how to install bathroom wallpaper around a sink or vanity step by step, while also offering design inspiration and maintenance advice. By the end, you’ll see why this detail can completely transform your bathroom into a space that feels curated, functional, and stylish.
Why Wallpaper Works Beautifully Behind a Sink or Vanity
Elevating a Bathroom with Pattern and Texture
The vanity wall sets the tone for the entire bathroom. Instead of a plain coat of paint, wallpaper can introduce dynamic patterns, bold textures, or soothing botanicals. It turns the sink backdrop into a focal point that balances everyday functionality with luxury appeal. Imagine walking into a powder room and being greeted by shimmering metallic wallpaper that catches the light around a mirror—this small touch creates an atmosphere that rivals boutique hotels.
Choosing the Right Moisture-Resistant Wallpaper
Not all wallpaper is created equal. In bathrooms, especially behind sinks, the type of wallpaper you choose determines how well it will last. Vinyl-coated and non-woven wallpapers are excellent for moisture resistance, while peel and stick wallpaper offers DIY convenience. Collections like bathroom wallpapers showcase styles engineered for humid environments, making it easy to select both beauty and durability.
Balancing Functionality with Style
While durability is essential, style should never be compromised. A marble-inspired wallpaper can complement stone countertops, while a floral design softens sharp vanity lines. Designers often recommend contrasting wallpaper with fixtures—for instance, pairing matte black faucets with bold geometric patterns. This balance ensures your bathroom feels intentional, not accidental.
Preparing the Space for Wallpaper Installation
Clearing the Vanity Area and Protecting Surfaces
Preparation begins with clearing the sink area. Remove toiletries, décor, and even the mirror if possible. Cover countertops with plastic sheeting or painter’s tape to prevent adhesive from dripping onto surfaces. Protecting these areas makes the installation process smoother and prevents unnecessary cleanup later.
Cleaning and Priming the Walls for Adhesion
Bathrooms often harbor invisible residues like soap scum or condensation streaks that interfere with wallpaper adhesive. Clean the wall with a mild detergent and let it dry completely. Apply a mold-resistant primer designed for humid spaces. This ensures the wallpaper bonds securely and resists peeling even in a splash-prone zone.
Measuring and Marking for Precision
Accurate measurement is the foundation of success. Measure from the ceiling to the vanity top, then add a couple of extra inches for trimming. Use a level to mark straight vertical guidelines where the first panel will be placed. These guides keep patterns aligned and prevent slanting seams.
Cutting Wallpaper Panels for Sinks and Fixtures
Measuring Around Faucets and Pipes
Vanity areas often have pipes and faucet stems that complicate installation. To accommodate them, hold the wallpaper loosely against the wall and mark cutout areas with a pencil. Always cut slightly smaller than needed—this ensures a snug fit and prevents visible gaps.
Cutting Outlets and Switch Openings
Electrical outlets and light switches near the vanity require careful attention. Turn off the power, remove outlet covers, and mark the wallpaper where openings will be. Use a utility knife to create neat X-cuts that fold back against the outlet edges. Once the cover plates are reinstalled, the cuts will be invisible.
Creating Templates for Odd Shapes
Not all sink setups are straightforward. If your vanity includes curved edges or irregular surfaces, create a paper template first. Tape craft paper to the wall, trace around the curves, then transfer that outline to your wallpaper panel. This step reduces mistakes and preserves costly wallpaper.
Applying Adhesive or Peel and Stick Wallpaper
Using Paste with Traditional Bathroom Wallpaper
For paste-the-wall wallpaper, spread adhesive evenly with a roller. Start at the top and apply downward strokes, ensuring full coverage without clumps. Smooth the wallpaper from the center outward using a brush or plastic smoother. Excess adhesive can be wiped off with a damp sponge, preventing stains.
Working with Peel and Stick Panels Behind Vanities
Peel and stick wallpaper offers an easier option, particularly for DIY renovators. Peel back a small section of the backing paper and position the top of the panel. Press it firmly while gradually peeling the backing downward. Working slowly prevents stretching and keeps patterns aligned. For inspiration, collections like peel and stick bathroom wallpapers highlight designs ideal for vanity backdrops.
Aligning Patterns Seamlessly Around Fixtures
Pattern alignment makes or breaks a project. Whether you’re working with bold stripes or delicate florals, each panel should connect seamlessly with the next. Pay extra attention around mirrors and faucets, since these areas naturally draw the eye. Adjust as needed before the adhesive sets fully.
Installing Wallpaper Around the Sink Area
Positioning the First Panel Correctly
The first panel is the anchor. Position it carefully along your vertical guideline, ensuring it’s perfectly straight. An off-center first panel creates cascading misalignments for the rest of the wall. Always step back to check alignment before smoothing.
Smoothing Out Air Bubbles and Wrinkles
Air bubbles are common, especially in humid bathrooms. To eliminate them, start smoothing from the center of the panel outward. Use firm but gentle pressure to push air toward the edges. Small pinholes can also be used to release trapped air without damaging the design.
Trimming Excess Wallpaper at Edges
After securing the panel, trim excess wallpaper along the vanity top, baseboards, and ceiling using a sharp utility knife. A straight edge or metal ruler ensures clean cuts. Always replace blades frequently—dull knives tear wallpaper instead of slicing it.
Protecting Wallpaper in High-Splash Zones
Sealing Edges with Waterproof Caulk
The edges of wallpaper near sinks are vulnerable to water intrusion. Apply a thin bead of clear waterproof caulk along the seam where the vanity meets the wall. This barrier prevents water from seeping behind the wallpaper and causing bubbling.
Using Clear Acrylic Sealants for Longevity
Another protective measure is applying a clear acrylic topcoat over the wallpaper. This creates a wipeable surface resistant to moisture and stains. It’s particularly helpful for families with children, where splashes are frequent.
Pairing Wallpaper with Backsplashes or Half-Tiled Walls
Designers often combine wallpaper with half-tiled walls or narrow backsplashes. The tiles protect the lower portion of the wall, while wallpaper adds drama above. Collections such as luxury bathroom wallpapers provide patterns that pair beautifully with stone, ceramic, or glass tiles, creating a sophisticated layered look.
Design Ideas for Vanity Backdrops
Bold Geometric Prints for Modern Bathrooms
Geometric wallpaper injects energy into bathrooms, especially when used behind a vanity mirror. Angular shapes in monochrome or contrasting colors create a modern vibe that complements minimalist sinks and sleek cabinetry.
Elegant Florals and Botanicals for Luxury Looks
Floral and botanical wallpaper brings nature indoors, offering a calming backdrop. A vanity framed by leafy designs feels refreshing and timeless. This works beautifully in guest bathrooms where a memorable impression matters most. Designs from floral bathroom wallpaper collections showcase how botanical patterns soften the hardest lines.
Textured and Metallic Wallpaper for Depth
Texture adds dimension, especially in smaller bathrooms. Subtle linen-like finishes or metallic sheens can transform a plain vanity into a statement wall. When paired with warm lighting, textured wallpaper creates depth that simple paint cannot replicate.
Maintenance Tips for Wallpaper Behind a Sink
Daily Cleaning and Moisture Control
Regular maintenance ensures wallpaper longevity. Wipe the area gently with a soft damp cloth to remove water spots or toothpaste splatters. Avoid harsh cleaners or abrasive pads, which can damage printed surfaces.
Repairing Small Tears or Lifting Seams
Small imperfections are inevitable, but easy to fix. Apply wallpaper adhesive to lifting seams and press firmly with a seam roller. Tears can be patched by carefully aligning a small offcut of wallpaper over the damaged area.
Ensuring Ventilation to Extend Lifespan
Humidity is the number one enemy of bathroom wallpaper. Good ventilation—whether through an exhaust fan or open window—helps maintain the adhesive’s strength. Articles like Can You Wallpaper a Bathroom with High Humidity? from our blog explain in detail how airflow impacts wallpaper durability.
Common Mistakes to Avoid When Installing Bathroom Wallpaper
Skipping Wall Prep in Humid Bathrooms
Poor preparation leads to failure. Installing wallpaper on unprimed, damp, or dirty walls often results in peeling within weeks. Proper wall prep is non-negotiable.
Misaligning Patterns Around Fixtures
Vanity areas naturally draw the eye, making pattern alignment critical. Rushed installation leads to mismatched seams that distract from the design. Take extra time to align.
Forgetting to Seal Vulnerable Edges
Edges exposed to daily splashes are often overlooked. Without sealant, water seeps behind wallpaper, creating bubbles and mildew. Sealing ensures long-term protection.
FAQs About Installing Wallpaper Around a Vanity
Can wallpaper go directly behind a bathroom sink?
Yes, but only when using moisture-resistant wallpaper. Vinyl-coated or non-woven options work best. Always seal edges to prevent water damage.
What type of wallpaper is best for vanities?
Vinyl, peel and stick, or washable wallpaper are ideal. They offer moisture resistance and can withstand cleaning.
How do you stop wallpaper from peeling near faucets?
Seal the bottom edges with waterproof caulk, and ensure proper ventilation in the bathroom.
Do you need a backsplash if you have wallpaper?
Not always. However, pairing wallpaper with a partial backsplash adds both protection and visual depth. Many designers recommend combining the two for longevity.
Conclusion
Wallpapering behind a sink or vanity may seem daunting, but with the right preparation, materials, and protection, it transforms the space into a design feature. By selecting durable wallpaper, cutting precisely around fixtures, and sealing vulnerable edges, you create a bathroom backdrop that balances practicality and style. Collections like geometric bathroom wallpapers or textured designs open endless possibilities, proving that the sink wall can be both functional and beautiful. For deeper inspiration, blog guides such as How to Stop Bathroom Wallpaper from Bubbling in Humid Spaces provide extra insight into maintaining wallpaper in high-moisture zones. Whether you prefer bold prints, elegant botanicals, or modern metallics, bathroom wallpaper around a sink or vanity is more than decoration—it’s a statement of personal style.