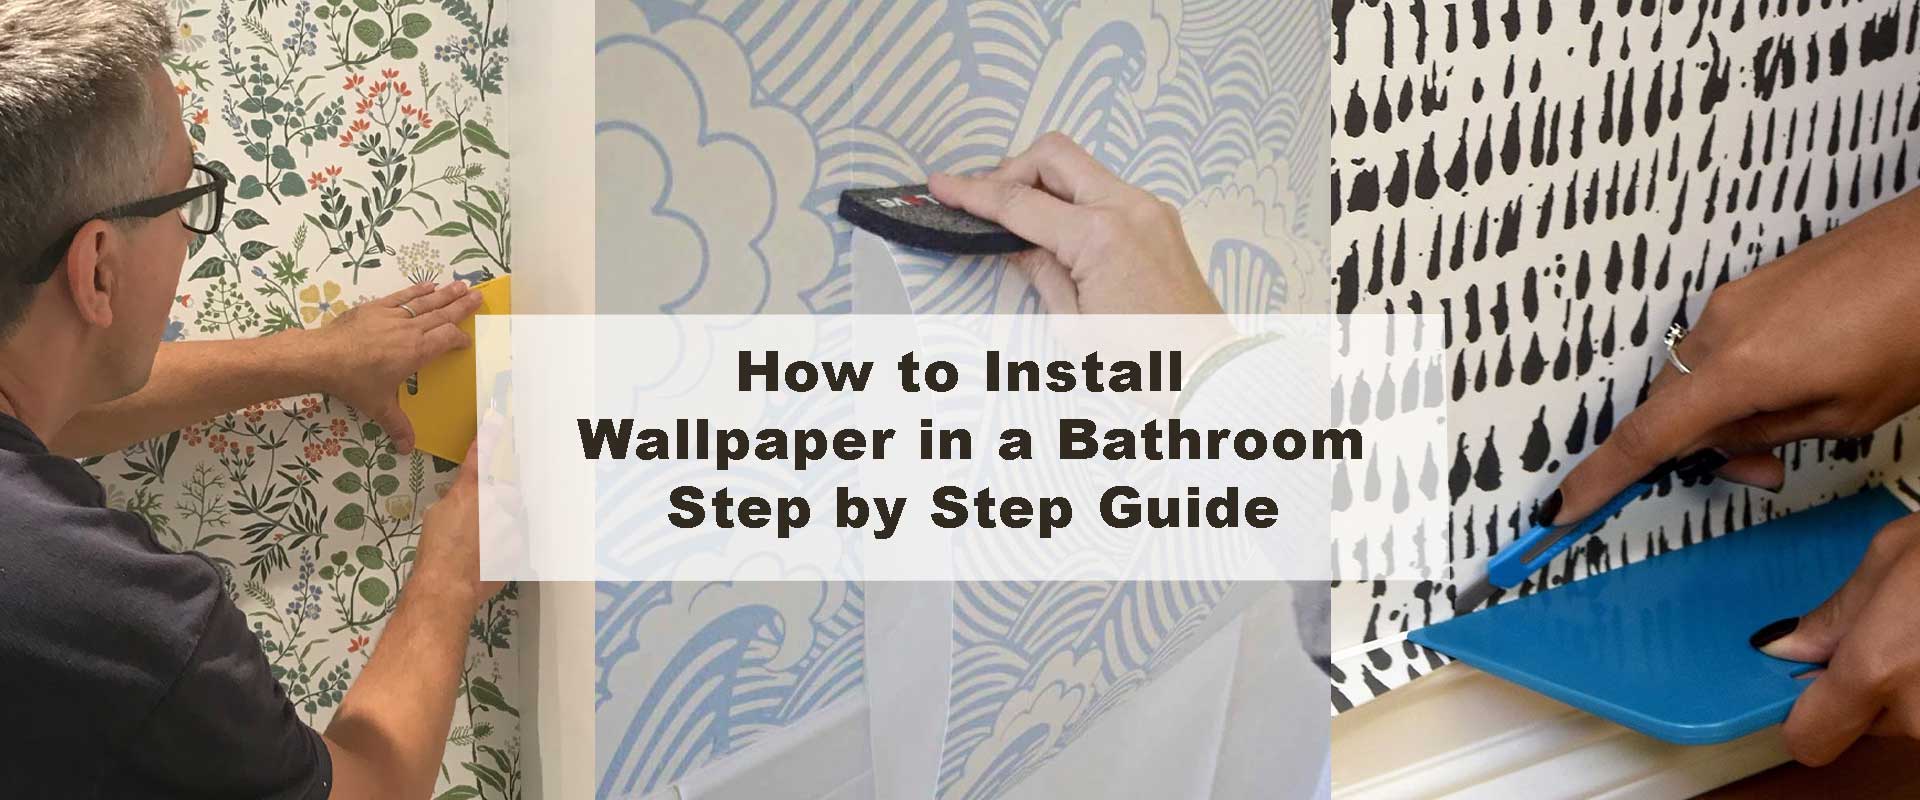
How to Install Wallpaper in a Bathroom Step by Step
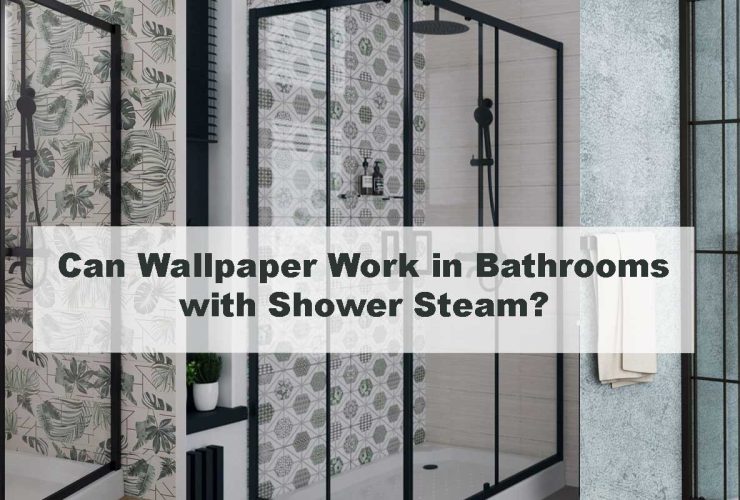
Bathrooms are exciting spaces to decorate, yet many people shy away from wallpaper because of concerns about steam, splashes, and durability. In reality, installing wallpaper in a bathroom is not only possible but also one of the easiest ways to give the space a unique character. The key lies in choosing the right wallpaper type, preparing the walls properly, and following a careful step-by-step installation method.
Wallpaper introduces depth, color, and pattern in ways that paint often cannot. From soft florals that bring nature indoors to bold geometrics that modernize a space, bathrooms are perfect canvases for creativity. If you’re ready to learn how to transform your walls, this guide will walk you through every step, while also sharing tips to maximize durability and style. For design inspiration before you begin, explore our Bathroom Wallpaper Collection to see what styles catch your eye.
Why Wallpaper Installation in Bathrooms is Different
Installing wallpaper in a bathroom requires a slightly different approach compared to living rooms or bedrooms. Bathrooms are small, humid spaces, often with pipes, fixtures, and mirrors that complicate installation. Steam from showers and water splashes near sinks can shorten the lifespan of wallpaper if the wrong type is chosen. That’s why vinyl and vinyl-coated wallpapers are recommended, as they are moisture-resistant and easy to clean.
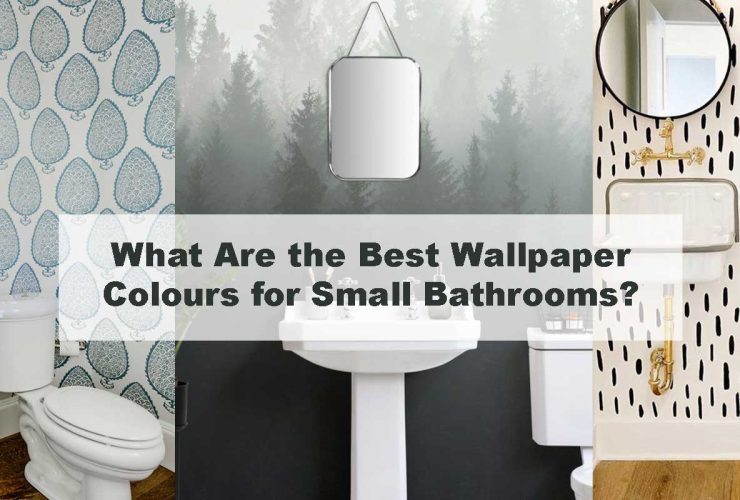
Another factor is ventilation. Bathrooms without exhaust fans or windows are more prone to condensation, which can cause wallpaper to peel. When planning your installation, ensure your space has adequate airflow. This is especially important for smaller layouts where moisture tends to linger. If your bathroom is compact, you may find helpful ideas in our blog on Small Bathroom Wallpaper Ideas to Maximise Space in 2025, which highlights styles that work beautifully in tighter spaces.
Tools and Materials You’ll Need
Before you begin, gathering the right tools ensures your installation runs smoothly. Unlike painting, wallpapering requires precision and attention to pattern alignment. Here’s what you’ll need:
- Vinyl or Peel-and-Stick Bathroom Wallpaper: Always choose moisture-resistant options. Collections like Peel and Stick Bathroom Wallpaper offer flexibility and convenience.
- Measuring Tape and Level: Essential for ensuring accurate cuts and straight placement.
- Utility Knife or Scissors: Sharp tools prevent frayed edges.
- Wallpaper Paste or Adhesive: Only if using traditional vinyl wallpaper.
- Wallpaper Smoother or Brush: Removes air bubbles for a seamless finish.
- Sponge and Warm Water: For cleaning paste residue.
- Mildew-Resistant Primer: Protects walls from moisture damage.
- Seam Roller: Helps flatten and secure edges.
- Clear Matte Sealant or Varnish: Provides extra protection in splash-prone areas.
Having these on hand will save time and ensure a professional-quality result.
Step 1: Prepare the Bathroom Walls
Preparation is the foundation of successful wallpaper installation. Start by cleaning the walls thoroughly to remove any soap scum, dirt, or grease, which can prevent proper adhesion. If the walls are glossy, lightly sand them to create a textured surface.
Next, apply a mildew-resistant primer. This is crucial in bathrooms, where moisture can quickly lead to mold growth if left unchecked. Allow the primer to dry completely before moving forward. A well-primed wall not only protects against dampness but also allows the wallpaper to adhere more effectively, increasing longevity.
If your bathroom has half-tiled walls, wallpaper works best on the top section. This combination of tile and wallpaper is practical and stylish, as tiles handle splashes while wallpaper adds visual interest. Many homeowners also turn to bold styles in powder rooms because they face less humidity. For more inspiration, read our blog on 12 Powder Room Wallpaper Designs That Wow Your Guests.
Step 2: Measure and Cut Wallpaper
Accurate measurements are critical when working with patterned wallpaper. Begin by measuring the height of your bathroom walls, then cut each strip with an extra 2–3 inches at the top and bottom to allow for trimming. Mark each strip with numbers to keep track of order and pattern alignment.
Use a level or plumb line to draw a vertical guide on the wall. Bathrooms often have uneven walls due to tiles or fixtures, and relying solely on corners can lead to crooked results. A plumb line guarantees your first strip is perfectly straight, which sets the tone for the entire installation.
Step 3: Apply Adhesive or Prepare Peel-and-Stick
The method here depends on the wallpaper type. For traditional vinyl wallpaper, apply adhesive evenly on the back of the strip, ensuring no areas are left dry. Some wallpapers come pre-pasted, requiring only a dip in water to activate the adhesive. For peel-and-stick wallpaper, peel back only a few inches of the backing at a time to prevent the sheet from sticking to itself.
Many DIY installers prefer peel-and-stick because of its flexibility—it’s easy to reposition if alignment isn’t perfect. However, vinyl wallpaper tends to last longer in humid conditions. If you’re deciding between the two, our Bold Bathroom Wallpaper Looks to Make a Statement blog shows examples of where each type shines.
Step 4: Hang the First Strip
Align the first strip with your plumb line, allowing slight overhang at the top and bottom. Gently press the strip onto the wall from top to bottom. Use a smoother or brush to remove air bubbles and excess adhesive, working from the center outward.
Corners and edges can be tricky—always press firmly to prevent lifting. If you’re wallpapering around a vanity or mirror, cut relief slits with a utility knife so the paper lays flat. Trim the excess at the ceiling and baseboard carefully for a clean edge.
Step 5: Match and Hang Additional Strips
The success of wallpapering lies in seamless pattern matching. Place the second strip next to the first, carefully aligning patterns at the seam. Gently butt the edges together—avoid overlapping unless the wallpaper specifically requires it. Use a seam roller to press the edges flat, ensuring no lifting occurs.
Continue with each strip, smoothing as you go. Take time to check alignment regularly. Rushing at this stage can create gaps or mismatched patterns that are difficult to correct later.
Step 6: Work Around Obstacles
Bathrooms often contain pipes, towel racks, and light switches that interrupt wall surfaces. Turn off power before removing switch plates, and cut wallpaper slightly larger than the opening to allow precise trimming. For pipes, cut a small slit in the wallpaper so it can be eased around the obstacle.
This step requires patience. Professional installers recommend making small cuts rather than large ones, as smaller adjustments look cleaner. By carefully maneuvering wallpaper around obstacles, you achieve a polished look that feels built-in rather than improvised.
Step 7: Seal the Wallpaper
Once the wallpaper is in place, sealing is essential in bathrooms. Use a damp sponge to wipe off excess paste, being careful not to damage the paper. Allow the wallpaper to dry thoroughly before applying protection.
Apply clear matte varnish or sealant along the seams, corners, and edges near sinks or splash-prone areas. This creates a barrier that prevents water infiltration and reduces peeling over time. It also provides peace of mind for busy bathrooms where humidity levels are high.
Step 8: Ventilate and Maintain
Proper ventilation is crucial after installation. Always run an exhaust fan or open windows during and after showers to minimize steam buildup. Even the most durable wallpaper can deteriorate if constantly exposed to condensation.
Maintenance is simple—clean the wallpaper with a soft, damp cloth. Avoid abrasive cleaners or strong chemicals, as they can damage protective coatings. Vinyl wallpaper, in particular, is designed to withstand gentle cleaning and will remain fresh with minimal effort.
Extra Tips for Success
- Start with the most visible wall so your best alignment is showcased.
- Use wallpaper above wainscoting to balance practicality and style.
- Experiment with bold prints in powder rooms, where humidity is lower.
- Mix tiles and wallpaper for durability in wet zones.
- Choose designs that complement fixtures, such as brass or chrome fittings.
If you’re still looking for inspiration, explore Modern Bathroom Wallpaper Styles to see how different designs transform bathrooms of all sizes.
FAQs
Can I wallpaper over tiles in a bathroom?
It’s not recommended. Tiles create an uneven surface that prevents wallpaper from adhering properly. Instead, remove the tiles or cover them with a liner before applying wallpaper.
What is the best wallpaper type for bathrooms?
Vinyl wallpaper is the most moisture-resistant and durable. Peel-and-stick is great for low-moisture spaces like powder rooms or for renters wanting flexibility.
How long does wallpaper installation take?
A small bathroom can usually be wallpapered in one day, provided walls are prepped and materials are ready. Larger bathrooms with more fixtures may take longer.
How do I prevent peeling?
Use mildew-resistant primer, seal seams, and keep the bathroom well-ventilated. These steps greatly extend the wallpaper’s lifespan.
Final Thoughts
Installing wallpaper in a bathroom may feel intimidating at first, but by following these steps, you can achieve a professional finish that lasts. Preparation, precision, and patience are the keys. With moisture-resistant wallpaper, proper sealing, and regular ventilation, your bathroom can be transformed into a space that feels both practical and stylish.
Wallpaper gives you freedom to experiment with bold florals, geometric prints, or calming botanical designs, turning an ordinary bathroom into a personalized retreat. For the best results, explore our complete Bathroom Wallpaper Collection and pair it with design insights from blogs like 20 Bathroom Wallpaper Ideas That Instantly Transform Your Space. With the right tools and preparation, you’ll find that wallpapering a bathroom is not only achievable but also one of the most rewarding home upgrades you can make.