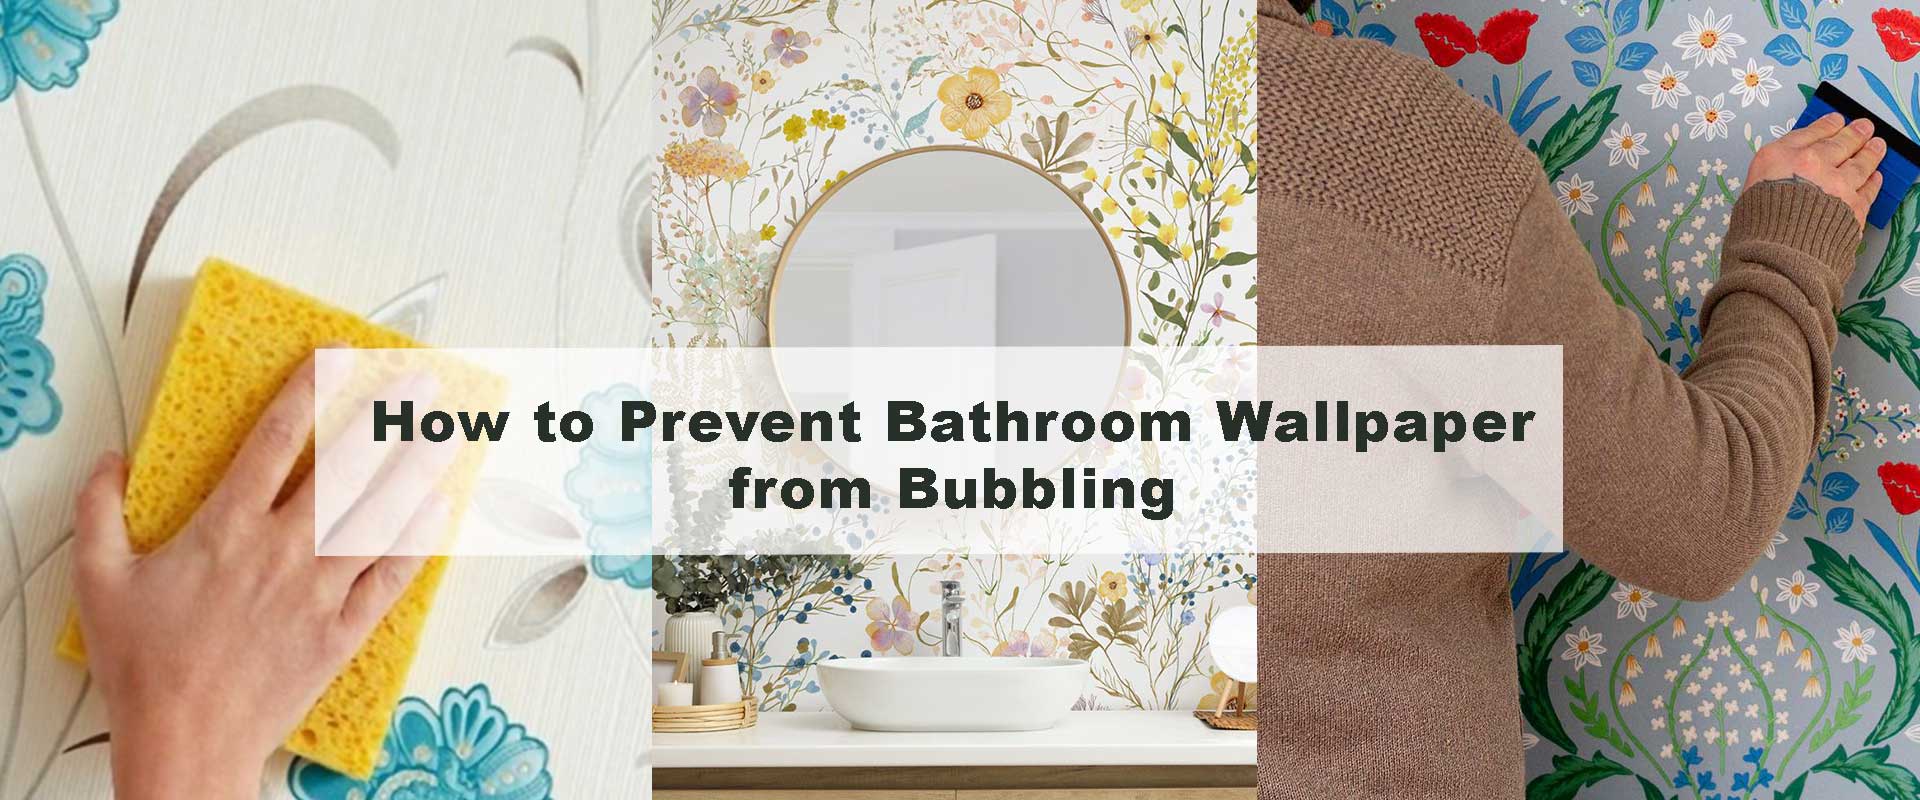
How to Prevent Bathroom Wallpaper from Bubbling
Wallpaper brings style, texture, and warmth to a bathroom, but bubbling can ruin even the most beautiful pattern. This common problem happens when moisture, trapped air, or poor adhesion interfere with the installation. In bathrooms, where steam and condensation are daily realities, the challenge is even greater. Fortunately, bubbling isn’t inevitable. With proper wall preparation, the right choice of materials, and consistent maintenance, you can achieve a flawless finish that lasts for years. This guide will walk you through how to prevent bathroom wallpaper from bubbling, step by step.
Why Does Bathroom Wallpaper Bubble?
Bathroom wallpaper often bubbles because air or moisture gets trapped beneath the surface. High humidity in bathrooms makes this problem worse, especially if walls aren’t properly sealed. Thin or low-quality wallpaper also struggles to stay smooth when exposed to heat and moisture. Even something as simple as applying too little adhesive can lead to pockets forming later. Choosing durable options, such as vinyl-coated designs from the bathroom wallpaper collection, ensures your walls resist bubbling even under humid conditions.
Preparing Walls Properly Before Wallpapering
Clean and Smooth Surfaces
Successful wallpapering starts with spotless, even walls. Dust, soap residue, and grease create a barrier between wallpaper and adhesive, leading to bubbles over time. Wash walls with a mild cleaner, then let them dry completely. If you notice rough patches, sanding them smooth is essential. A perfectly clean and level wall gives your wallpaper the best chance of bonding evenly.
Seal and Prime the Walls
Bathrooms demand extra protection against moisture. A moisture-resistant primer creates a stable base that adhesive can grip effectively. Without primer, walls may absorb adhesive unevenly, leaving weak spots where bubbles appear later. Using a primer specifically formulated for wallpaper also improves adhesion and makes removal easier if you ever decide to update your design.
Repair Cracks and Holes
Small imperfections can have big consequences. Even a hairline crack lets moisture creep behind wallpaper, weakening adhesive and creating bubbles. Filling holes and cracks with spackle before wallpapering seals the surface completely. Once repairs are dry, sand them flush with the wall and prime over them. These steps make your surface durable enough to handle bathroom humidity.
Choosing the Right Wallpaper for Bathrooms
Not all wallpaper can withstand bathroom conditions. Standard paper wallpaper absorbs moisture and breaks down quickly. Vinyl wallpaper, however, is coated to resist humidity, making it the top choice for wet spaces. For those who love easy DIY projects, peel and stick bathroom wallpaper offers convenience with built-in adhesive that still performs well if installed carefully. If your goal is elegance and durability, the luxury bathroom wallpaper collection provides thicker, high-end designs that keep their shape and finish, even in busy bathrooms.
Adhesive Techniques That Prevent Bubbling
Match Adhesive to Wallpaper Type
Every wallpaper material requires a compatible adhesive. Vinyl wallpaper, for example, works best with vinyl-based paste, while pre-pasted designs only need water activation. Using the wrong type of glue weakens the bond, increasing the risk of bubbling. Always check the manufacturer’s guidelines before applying adhesive to avoid costly mistakes.
Apply Evenly and Generously
Air pockets often form when adhesive isn’t applied consistently. Spread paste evenly across the wallpaper edges and the center, paying close attention to corners where bubbling often starts. For peel and stick wallpapers, press firmly across the surface as you install, working slowly to prevent trapped air. Precision here makes all the difference in keeping wallpaper smooth.
Smooth Out Air Bubbles Immediately
Even with careful installation, small air pockets may appear. The key is to remove them before the adhesive dries. Using a smoothing tool or clean cloth, press from the center outward to push air to the edges. Don’t rush this step; any bubbles left behind will only expand once bathroom steam adds moisture to the mix.
Managing Moisture in Bathrooms
Moisture is the biggest enemy of bathroom wallpaper. Even perfect installation won’t last without effective moisture control.
Improve Ventilation
An exhaust fan is a must-have in any wallpapered bathroom. Run it during and after showers to minimize condensation. In smaller spaces or powder rooms, opening a window also helps circulate air. Good airflow prevents moisture from settling on wallpaper and breaking down adhesive bonds.
Seal Edges and Seams
Edges are especially vulnerable to bubbling because water often seeps in at these points. Applying clear, waterproof caulk along seams and corners creates a protective barrier. Guides like Can You Put Wallpaper Behind a Bathroom Sink? show how sealing edges ensures wallpaper remains intact even near splash zones.
Avoid Direct Water Exposure
Wallpaper is not designed for constant splashing. It performs best on feature walls, alcoves, or above tile wainscoting, where direct water contact is minimal. Using protective tile or panels around showers and bathtubs lets you enjoy wallpaper’s beauty without the risk of bubbling in wet areas.
Installation Tips for a Flawless Finish
Work in Small Sections
Wallpapering a whole wall at once encourages mistakes. Apply wallpaper in manageable sections instead. This method gives you time to align patterns, smooth bubbles, and correct issues before moving on. Patience here creates a professional-looking finish.
Overlap Slightly at Seams
Aligning seams tightly is critical, but leaving them too loose creates weak spots. Slight overlap ensures full coverage and prevents edges from lifting later. If you’re using patterned wallpaper, match designs carefully to maintain a seamless look while reinforcing adhesion.
Allow Time to Cure
Once wallpaper is applied, give it time to set. Avoid running hot showers for at least 48 hours so the adhesive cures properly. This drying period strengthens the bond and reduces the chances of bubbles forming when the wallpaper first faces bathroom humidity.
Common Mistakes That Cause Bubbling
Many bubbling issues trace back to avoidable errors. Skipping primer or sealing steps leaves walls vulnerable. Choosing normal paper wallpaper instead of vinyl makes moisture absorption inevitable. Applying wallpaper directly over glossy paint without sanding weakens adhesion. Failing to seal edges near sinks or tubs allows water intrusion. Finally, opting for thin, budget peel and stick wallpaper often leads to bubbling in humid conditions. Selecting durable designs like those in the small bathroom wallpaper collection prevents these issues and extends the life of your design.
Long-Term Care to Prevent Bubbling
Even with flawless installation, ongoing care is essential.
Gentle Cleaning
Bathrooms demand regular cleaning, but harsh chemicals damage adhesives. Instead, wipe wallpaper gently with a damp cloth and mild soap if needed. As discussed in Is Vinyl Wallpaper Good for Bathrooms?, vinyl-coated wallpaper makes maintenance easier because it resists stains and water better than paper-based designs.
Monitor Seams
Over time, seams can weaken due to humidity. Inspect them periodically for signs of lifting. If you catch small separations early, reapplying adhesive or caulk prevents bubbles from spreading across larger areas of the wall.
Maintain Ventilation
Ventilation isn’t just for installation—it’s a long-term necessity. Always run fans during showers, and consider using a dehumidifier in bathrooms with poor airflow. These small habits make a big difference in keeping wallpaper smooth and bubble-free.
FAQs About Preventing Wallpaper Bubbling in Bathrooms
Why does bathroom wallpaper bubble after installation?
Wallpaper bubbles usually form when air or moisture becomes trapped beneath the surface. In bathrooms, humidity accelerates this process, especially if walls weren’t properly sealed or the wrong adhesive was used.
Can peel and stick wallpaper bubble in bathrooms?
Yes, especially if the wallpaper is thin or applied too quickly. However, high-quality vinyl-coated peel and stick options can stay smooth when carefully installed and pressed firmly to remove air pockets.
Will wallpaper bubbles go away on their own?
Not usually. In humid bathrooms, bubbles tend to get worse over time. Small bubbles can sometimes be smoothed out immediately after installation, but once adhesive sets, they need repair.
How do I fix bubbling wallpaper without removing it all?
You can repair small bubbles by using a syringe to inject adhesive under the lifted section, smoothing it out afterward. For larger areas, resealing edges or reapplying wallpaper may be necessary.
What’s the best way to stop bubbling long-term?
The key is preparation and maintenance: prime and seal walls, use vinyl wallpaper, match adhesive correctly, seal edges, and ensure proper ventilation. Following these steps prevents bubbling and keeps wallpaper looking fresh for years.
Conclusion
Preventing bathroom wallpaper from bubbling comes down to preparation, materials, and ongoing care. From cleaning and priming walls to sealing edges and improving ventilation, every detail makes a difference. Choosing high-quality designs from the bathroom wallpaper collections ensures your walls not only look stylish but also withstand the unique challenges of humid spaces. With the right approach, you’ll enjoy smooth, bubble-free wallpaper that transforms your bathroom into a durable, elegant retreat.