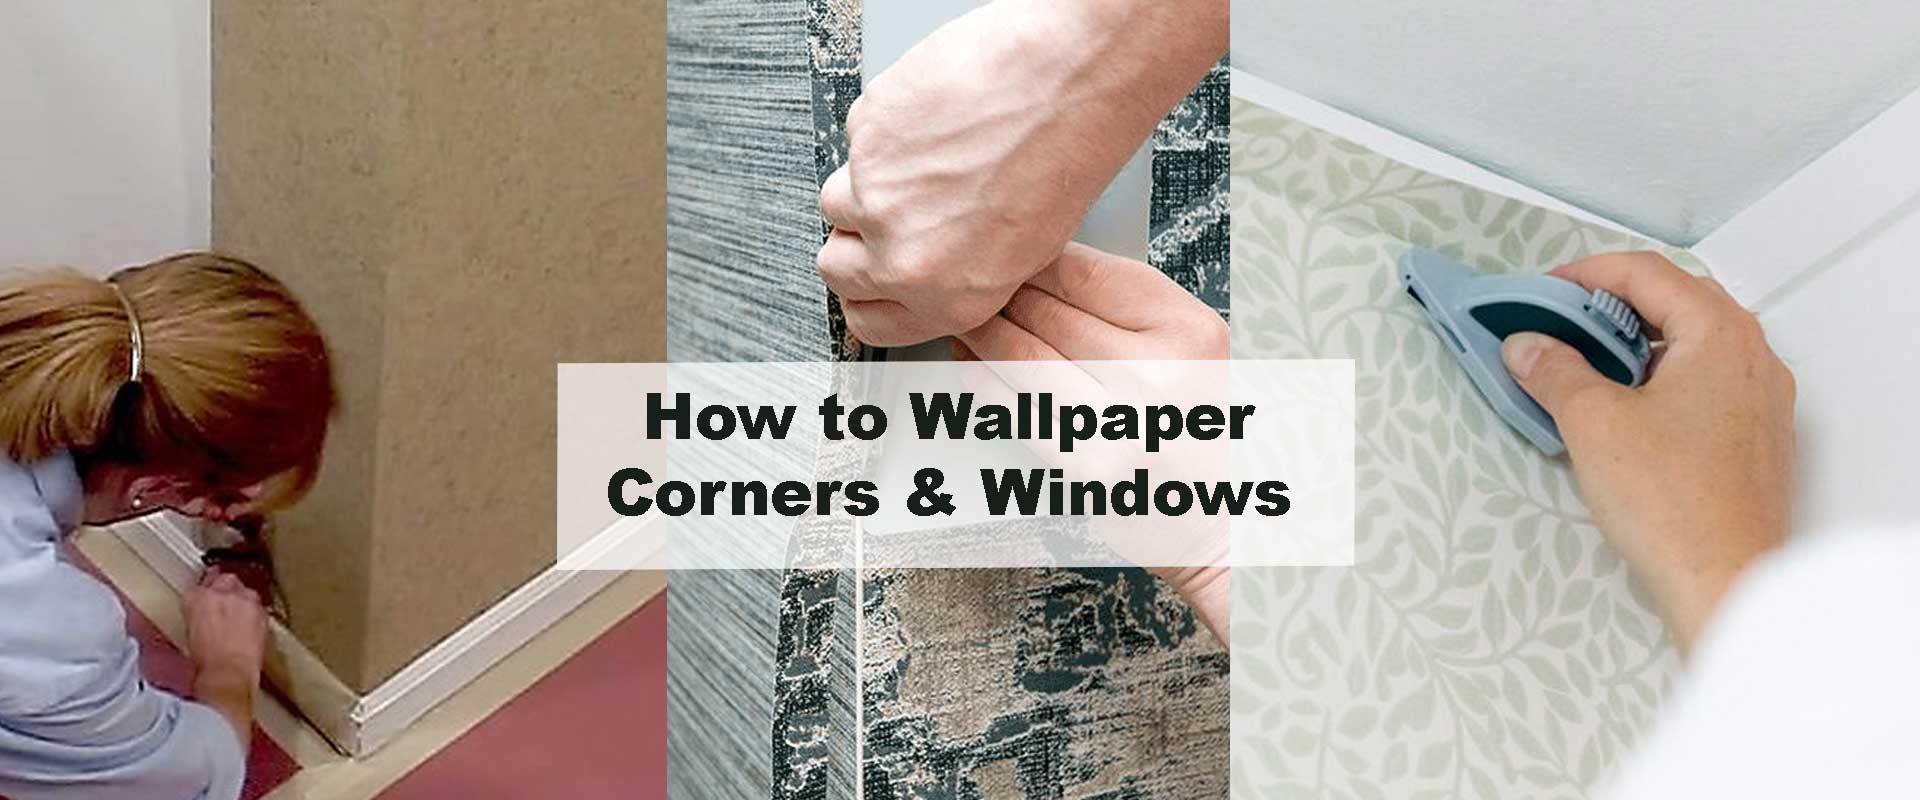
How to Wallpaper Corners & Windows
Applying wallpaper around corners and windows can feel daunting, yet it’s one of the most rewarding finishing touches in home design. When done right, these challenging areas highlight craftsmanship and bring flow to your floral patterns. Whether working with traditional paste or peel-and-stick styles, mastering these spots helps your wallpaper look naturally integrated and elegantly framed.
Understanding the Challenges of Corners and Windows
Corners and windows interrupt the continuity of a wall, often revealing uneven edges or pattern breaks if not handled precisely. Inside corners can cause creases, while outside ones may peel if stretched too tightly. Around windows, trimming near sills and frames demands care to avoid tears.
Working with premium floral wallpapers from the Floral Wallpapers Collection helps achieve smoother transitions since these designs offer flexible material and reliable adhesion. Their motifs flow gracefully across edges, allowing every petal or stem to align with confidence.
Essential Tools for a Professional Finish
| Tool | Purpose | Expert Tip |
|---|---|---|
| Wallpaper smoother | Removes bubbles and creases | Always move from center outward |
| Utility knife | Cuts clean edges | Change blades frequently |
| Seam roller | Seals joints and corners | Roll gently to avoid distortion |
| Tape measure & level | Guides straight placement | Mark a plumb line before pasting |
| Brush or roller | Applies adhesive evenly | Keep edges slightly dry |
| Damp sponge | Cleans excess paste | Wipe immediately to protect design |
Having these tools on hand not only ensures precision but also reduces rework. Many of these same tools come in handy during tricky repair stages discussed in Fixing Wallpaper Seams and Bubbles, where proper adhesion and smoothing make all the difference.
Step-by-Step Guide to Wallpapering Corners
1. Plan Your Pattern and Alignment
Before you begin, measure the wall height and note the pattern repeat. For floral designs, align stems or vines to flow continuously across corners rather than cutting through key motifs. Avoid placing large flowers directly in the fold — instead, adjust slightly for balance.
2. Tackle Inside Corners Smoothly
Cut the panel so it wraps about ½ inch (1.2 cm) onto the adjoining wall. Smooth gently into the corner without stretching. Then hang the next strip from the new wall, overlapping slightly and matching patterns carefully.
This small overlap helps maintain a tight, elegant corner — a technique that pairs beautifully with intricate designs such as those in the Vintage Floral Wallpapers range, where symmetry enhances the old-world charm.
3. Wrap Around Outside Corners
For outside corners, wrap only ⅛ to ¼ inch (3–6 mm) around the projection to avoid peeling. Begin the next strip from the adjoining wall, aligning the pattern delicately. Warming the edge with a hairdryer softens the adhesive and ensures flexibility — especially helpful when working with the Modern Floral Wallpapers collection.
4. Trim and Seal for a Clean Finish
Once both sides are set, run a seam roller gently along the edge. Trim excess at ceilings and skirting boards using a sharp knife. If gaps appear, lift slightly, add a dab of clear adhesive, and smooth again for a professional finish.
How to Wallpaper Around Windows
Windows add character to a space, but they also require patience and precision. Correct cutting and alignment prevent unsightly gaps or wrinkles near trims and sills.
1. Start with a Full Sheet
Position a full strip over the window opening. Press gently into the recess and cut diagonal slits toward the corners to release tension. This keeps the wallpaper flat and free from bubbles.
The method works especially well for artistic designs such as the Watercolor Floral Wallpapers, where soft brushstroke motifs demand gentle handling.
2. Cut Around Frames and Sills
Trim carefully along the window frame while keeping tension on the paper. Smooth it with a wallpaper brush as you go. For sills, press the paper into place and cut horizontally to maintain a crisp line.
When done neatly, this creates a seamless transition similar to the precision shown in Removing Old Wallpaper Before Installing Florals—a guide that also emphasizes surface preparation for long-lasting adhesion.
3. Wrap or Butt for a Refined Look
If the window has deep recesses, wrap the wallpaper inward for a custom, built-in look. For shallower frames, butt cleanly to the edge for contemporary neatness. Both methods work beautifully depending on whether you want depth or minimalism.
Design Tips for Corners and Windows
Corners and windows can enhance your room’s atmosphere when styled thoughtfully. Balance floral intensity with light and shadow to frame natural views or decorative trims.
- Use pink floral wallpapers near windows to soften daylight and reflect warmth — ideal for creating cozy reading corners (Pink Floral Wallpapers).
- Accent a feature wall in dark florals to contrast with bright frames, giving the illusion of deeper space (Dark Floral Wallpapers).
- Pair blue floral wallpapers with wooden window trims for calm, coastal character (Blue Floral Wallpapers).
Such combinations bring dynamic energy to corners while highlighting natural symmetry and rhythm in your interiors.
Common Mistakes and How to Avoid Them
| Mistake | Result | Solution |
|---|---|---|
| Forcing full sheets into corners | Creases or tears | Cut and overlap slightly |
| Ignoring pattern repeat | Misaligned motifs | Measure and mark beforehand |
| Over-trimming early | Gaps along edges | Press and trim only after adhesion |
| Using dull blades | Rough, torn cuts | Replace blades frequently |
| Skipping seam sealing | Peeling corners | Apply clear adhesive sparingly |
Learning from these missteps ensures your results match the refined precision shown in many expert guides on floral installations.
Quick Comparison: Inside vs Outside Corners
| Corner Type | Wallpaper Method | Benefit | Ideal Use |
|---|---|---|---|
| Inside Corner | Overlap ½ inch | Prevents peeling and wrinkling | Standard wall joins |
| Outside Corner | Wrap ⅛–¼ inch | Maintains design flow | Pillars, projections |
| Deep Recess | Join neatly | Secure fit | Bay windows |
| Sharp Edge | Roll firmly | Clean definition | Door and window trims |
These techniques ensure continuity and visual flow, especially in patterned rooms where motifs meet at sharp transitions.
Maintaining Clean Edges Around Frames
Once the wallpaper is applied, gently wipe away excess paste with a damp sponge. Allow 24 hours to set before painting trims or decorating. Crisp lines and properly sealed seams enhance the impact of designs like those in the Aesthetic Floral Wallpapers, known for their sophisticated repetition and soft color blends.
Expert Advice on Pattern Matching
- Use natural light to check vertical alignment before trimming.
- Match motifs slightly before corners for smoother visual continuation.
- Step back every few strips to verify symmetry from multiple angles.
- Always plan around your focal wall, typically where windows draw attention first.
These refinements prevent mismatched blossoms and create a fluid, intentional look.
Why Detail in Corners Matters
Perfectly wallpapered corners and windows elevate your room from simple décor to designer craftsmanship. These details reflect balance, rhythm, and visual integrity — hallmarks of great design. Clean edges and continuous patterns maintain that freshly installed look for years, especially in sunlit spaces where light highlights every fold and seam.
FAQs About Wallpapering Corners & Windows
1. Should I overlap wallpaper in corners?
Yes, a ½-inch overlap keeps the paper secure and prevents peeling. For inside corners, never force one full sheet.
2. How can I handle windowsills and trims easily?
Cut diagonally from the window center to each corner, then smooth carefully around edges for precision.
3. Can peel-and-stick wallpapers be used in corners?
They can — gently warm the edges to boost flexibility and adhesion.
4. What type of wallpaper suits complex corners best?
Vinyl and non-woven designs work well for their strength and easy repositioning.
5. How do I keep floral patterns aligned near windows?
Measure the repeat, center your design, and plan cuts before applying adhesive.
Conclusion
Mastering how to wallpaper corners and windows turns an ordinary installation into an expression of precision and artistry. With careful trimming, measured overlaps, and pattern alignment, even the most complex walls can appear effortless. From modern botanicals to timeless florals, each curve, recess, and corner can feel beautifully intentional.
Discover inspiration in the Floral Wallpapers Collection, and find designs that echo your personal style — from the textured layers of Vintage Floral Wallpapers to the graceful tones of Watercolor Floral Wallpapers — creating windows and corners that truly bloom.