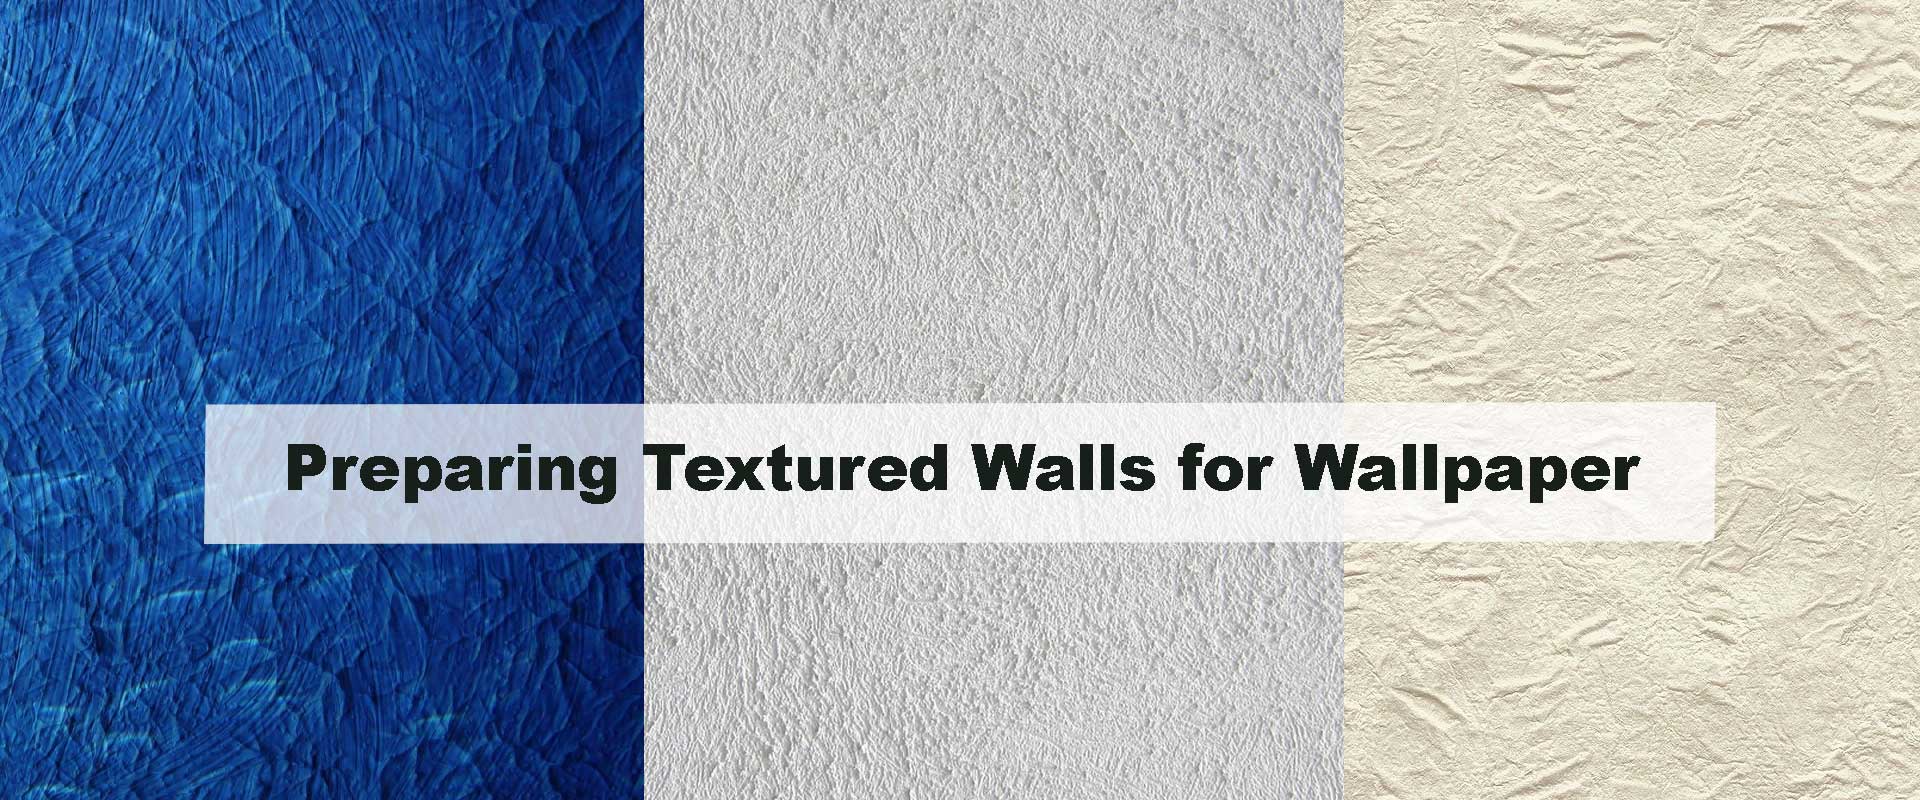
Preparing Textured Walls for Wallpaper
Applying wallpaper over textured surfaces can be challenging, but with the right preparation, you can achieve a smooth, long-lasting finish. Preparing textured walls for wallpaper ensures proper adhesion, prevents bubbles, and lets the pattern shine. Whether your walls have orange peel, knockdown, or stucco textures, careful preparation is essential to get a professional result that complements both bold and delicate designs.
Why Preparing Textured Walls Before Wallpapering Matters
Wallpaper adheres best to smooth, even surfaces. If the wall is uneven, air gaps cause the paste to lift, ruining patterns and seams. This step becomes crucial when working with detailed floral wallpaper collections where each petal and vine relies on precise alignment. When textured walls are properly leveled, patterns look crisp, colors remain true, and the finish lasts for years.
A smooth base also allows styles like vintage floral wallpapers or large-scale botanical murals to reflect light beautifully, creating a cohesive look across your walls. Without prep, texture peaks can distort the design, especially with glossy finishes or delicate watercolor florals.
Step 1: Inspect and Clean the Wall Surface
Start by carefully inspecting your wall for cracks, grease spots, or dust buildup. Dirt prevents the paste from bonding well. Use a mild detergent and a soft sponge to remove residue, then let the wall dry completely. A clean surface helps the adhesive grip uniformly, which is particularly important when applying peel-and-stick papers or intricate prints like floral wallpapers for kitchens.
For textured walls, even small dust particles can become visible under light after wallpapering. A quick wipe-down before sanding ensures your surface is debris-free and ready for priming.
Step 2: Sanding and Leveling Textured Surfaces
The foundation of preparing textured walls for wallpaper lies in removing raised bumps. For light textures, use medium-grit sandpaper. For deep ones like stucco or popcorn, skim-coating is more effective. Apply a thin layer of joint compound with a wide drywall knife, let it dry completely, and sand smooth with fine-grit paper.
Once sanded, clean off any dust. This process ensures wallpaper—especially those with intricate designs like modern floral wallpapers—sits perfectly flat without distortion.
If you plan to use peel-and-stick wallpapers, the smoother the surface, the better they’ll adhere. Rough patches can trap air, causing peeling edges over time.
Step 3: Repair Cracks and Fill Holes
Cracks or dents might seem minor but can cause wallpaper to bubble or tear. Use spackle or filler to patch these areas, then sand flat. A consistent surface helps detailed designs—such as abstract floral wallpapers—maintain their continuity without visual interruptions.
When repairs are ignored, imperfections can reflect under light, disrupting patterns. A few extra minutes of patching ensures your wallpaper looks seamless and professional.
Step 4: Apply a Quality Primer or Sealer
Priming creates a smooth, sealed base that enhances paste performance. For textured walls, acrylic or shellac-based primers work best. They lock in joint compound dust, balance wall absorption, and ensure wallpaper glides on smoothly.
If you’re styling humid rooms, priming becomes essential. Moisture-resistant primers protect designs like floral wallpapers for bathrooms, preventing edge lift or color fading. Let the primer dry at least 24 hours for optimal results. This extra patience ensures a stronger bond between wall and wallpaper.
Step 5: Testing Adhesion on a Small Section
Before wallpapering an entire room, test a small area. Apply a sample strip to check adhesion and drying performance. If you notice bubbles, sand lightly and re-prime. This saves time and prevents future peeling.
Testing is especially important for bold designs like dark floral wallpapers, where every detail and shadow stands out. Smooth surfaces ensure your final look remains refined and free of surface irregularities.
Step 6: Final Surface Preparation Before Hanging
Once primed, inspect the surface again. It should feel matte and velvety—not glossy. Glossy walls resist paste and may cause slippage during installation. A second thin coat of primer can enhance grip consistency if needed.
At this stage, your wall is completely ready for transformation. From soft watercolors to moody botanicals, your chosen design will apply flawlessly, adding elegance and texture to your interiors.
Tips for Handling Heavily Textured Walls
For extremely rough walls, lining paper is a time-saving option. It acts as an underlayer that minimizes unevenness before applying your main wallpaper. Lining paper works beautifully with lighter styles like aesthetic floral wallpapers, giving a subtle, fabric-like finish.
For renters, peel-and-stick options can work if the wall is sanded smooth. A clean, primed surface prevents the adhesive from losing grip—especially helpful in high-traffic or humid areas. Proper preparation ensures the wallpaper stays flawless even under challenging conditions.
Maintaining Wallpaper on Previously Textured Walls
Once your wallpaper is installed, maintenance is simple. Gently wipe with a damp cloth to remove dust, avoiding direct scrubbing. Proper ventilation keeps humidity levels low and prevents lifting along seams.
Wallpapers featuring natural tones, such as green and ivory florals, retain their charm longer when cleaned correctly. This advice complements the care steps mentioned in Cleaning & Maintaining Floral Wallpaper, ensuring your design stays pristine and rich in detail. Similarly, tips from Fixing Wallpaper Seams and Bubbles help you handle small touch-ups gracefully without compromising the texture beneath.
Common Mistakes to Avoid When Prepping Textured Walls
- Ignoring deep textures before wallpapering
- Skipping primer or sanding steps
- Applying wallpaper to a damp surface
- Overlooking small cracks or repairs
- Forgetting to remove sanding dust before priming
Avoiding these missteps ensures your wallpaper adheres evenly and maintains its intended design clarity. A smooth base always enhances the final appearance of floral, geometric, or scenic patterns.
FAQs About Preparing Textured Walls for Wallpaper
1. Can I put wallpaper directly over textured walls?
Not without preparation. Texture creates air gaps and uneven bonding, leading to lifting and misalignment. Smoothing or skim-coating the wall is essential.
2. What’s the easiest way to smooth textured walls?
Light sanding works for mild textures. Heavier finishes may need joint compound for skim-coating to achieve a perfectly level surface.
3. Do I need to use primer on textured walls?
Yes. Primer ensures paste adhesion, seals the surface, and allows easier removal in the future if needed.
4. Will self-adhesive wallpapers stick on textured walls?
They’ll only adhere if the texture is minimal. Smoothing and cleaning the wall beforehand is crucial for peel-and-stick wallpapers to stay firm.
5. How long should I wait after priming before wallpapering?
Let the primer cure for at least 24 hours. In humid environments, 48 hours provides a safer window for optimal adhesion.
Conclusion
Preparing textured walls for wallpaper transforms challenging surfaces into perfect canvases for creativity. From sanding and priming to testing and finishing, every step adds to the durability and beauty of your wall. Whether you love timeless botanicals or dramatic dark florals, a properly prepared surface lets patterns shine. Pair your efforts with the elegance of floral wallpaper designs to bring depth, warmth, and artistic charm into your home.