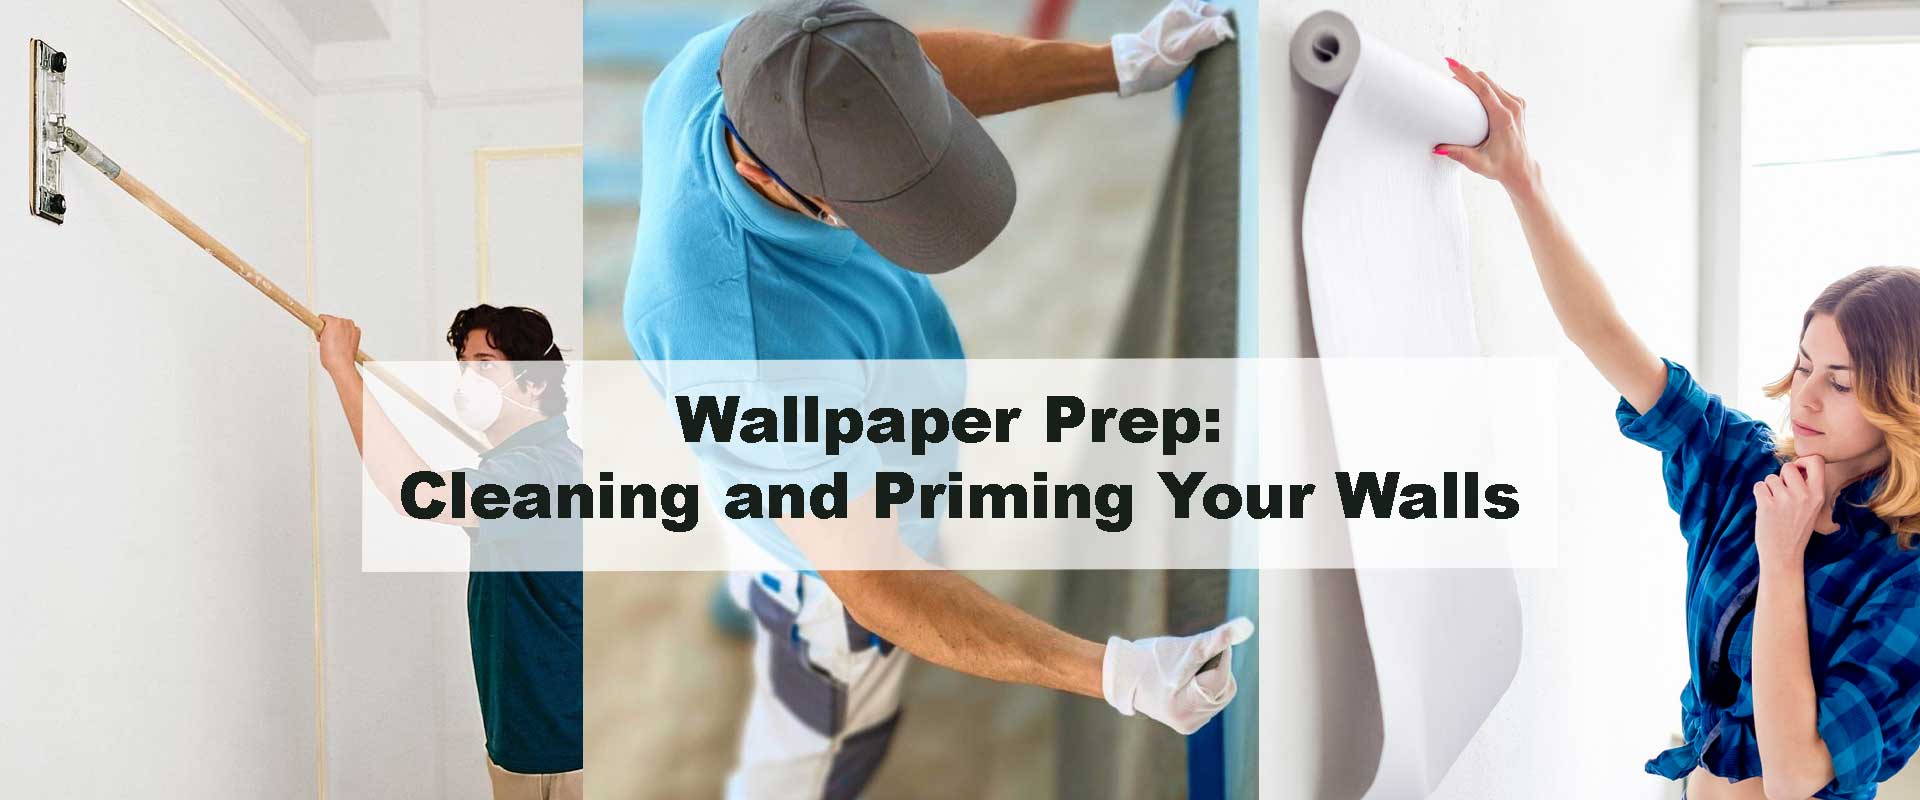
Wallpaper Prep: Cleaning and Priming Your Walls
A Clean Start for Every Beautiful Wallpaper Design
Every stunning wallpaper begins with an invisible foundation — clean, primed walls. Whether refreshing a bedroom, kitchen, or office, wallpaper prep ensures patterns adhere seamlessly and surfaces stay smooth for years. A bit of care in cleaning and priming creates the perfect base for floral designs, giving them sharper detail, richer tones, and that professional finish that transforms an entire space.
Why Wall Preparation Matters Before Wallpapering
Think of wallpaper as fabric and your wall as the canvas — even the most detailed print loses charm if applied over dust or old paint flakes. Proper preparation enhances adhesion and prevents peeling, bubbles, and fading. Smooth, primed walls make designs like floral wallpapers look fresh and well-blended with your decor. This foundation also allows easier future updates, whether you’re adding new prints or removing old ones without damage.
Step 1: Deep Cleaning for Perfect Adhesion
Dust, oil, and residue can compromise adhesive strength. Begin with a damp sponge and mild detergent, gently scrubbing walls to remove grime. Focus on corners and switch plates where buildup hides. Once clean, rinse lightly and dry with a microfiber cloth.
When working with delicate styles such as vintage floral wallpapers, dryness is key. Trapped moisture beneath wallpaper causes bubbling and dull texture. A final wipe with a dry towel ensures an even base ready for primer.
You can see how similar care steps in Fixing Wallpaper Seams and Bubbles protect long-term finish quality — prep and repair always go hand in hand.
Handling Different Wall Conditions
- Glossy walls: Light sanding removes sheen and helps primer grip.
- Old wallpaper residue: Scrape gently and wash away paste traces.
- Minor mold: Treat with diluted bleach, then let the wall dry completely.
Clean walls not only look better but allow rich tones in modern floral wallpapers to stand out with clarity and depth.
Step 2: Repairing Imperfections Before Priming
Tiny dents and hairline cracks can ruin even the most intricate pattern alignment. Use spackle or filler to smooth these areas, sand lightly after drying, and clear away dust. Smooth walls ensure even color reflection and crisp pattern edges, especially when using light designs such as watercolor floral wallpapers.
This attention to texture is the same principle highlighted in How to Align Floral Patterns Perfectly — the smoother the base, the easier the pattern matches flawlessly.
Step 3: Priming – The Invisible Protector
Priming isn’t optional; it’s what makes wallpaper installation effortless. It seals porous surfaces and prevents glue from drying too fast. Choose a water-based acrylic primer for painted drywall or a wallpaper-specific sealer for mixed surfaces. Apply evenly with a roller, using a brush for edges, and let it dry for a full day.
Primer also helps achieve uniform tone under light or translucent wallpapers. For instance, using it before applying black floral wallpapers keeps dark tones bold and prevents uneven absorption beneath the print.
Choosing the Right Primer
| Primer Type | Ideal Surface | Key Benefit |
|---|---|---|
| Water-Based Acrylic | Drywall, latex paint | Fast-drying, low odor |
| Oil-Based | Old or stained walls | Blocks discoloration |
| Wallpaper Sealer | Any wall | Improves adhesive strength |
| Shellac Primer | Moist areas | Prevents mildew and peeling |
Proper priming makes the difference between a quick fix and a professional finish — particularly when preparing for bedroom floral wallpapers where smooth texture matters most.
Step 4: Inspecting the Surface Before Hanging
Once primer dries, inspect walls under good light. Run your hand over the surface; it should feel smooth and consistent. Patch any remaining roughness or glossy spots with a thin primer layer. This step ensures every strip sits flat and aligns perfectly at the seams.
Mistakes to Avoid During Wall Prep
- Skipping primer: Causes poor bonding and visible seams.
- Wallpapering damp walls: Leads to peeling within weeks.
- Ignoring cracks or dust: Makes designs appear uneven.
- Using heavy chemicals: Damages plaster or weakens adhesive.
Even premium aesthetic floral wallpapers can fail without these fundamentals, proving that preparation defines longevity as much as design.
Special Care for Different Wall Surfaces
Every wall type reacts differently to adhesives and primers, so understanding their nature ensures your wallpaper settles with perfect smoothness and durability. Whether you’re dealing with fresh plaster, old paint, or wooden panels, tailoring your prep to the material beneath guarantees a seamless finish that lets your floral designs shine.
Drywall
Drywall is naturally porous, which means it absorbs moisture from adhesives quickly. Lightly sand to remove any dust or joint compound residue, then apply a primer-sealer to close pores and create a balanced surface. This prevents patchy adhesion and keeps patterns uniform, especially when applying soft-toned or pastel floral wallpapers that highlight surface imperfections easily.
Plaster
Fresh plaster needs time to breathe before any coating. Allow full curing, then use a moisture-resistant primer to strengthen adhesion. For older plaster walls, a thin sealer layer stops chalky dust from mixing with adhesive. The result is a smoother backdrop, ideal for showcasing vintage or classic floral wallpapers where intricate detailing and aged patina take center stage.
Painted Walls
Painted walls require a gentle but thorough touch. Wash away grime or residue with mild detergent, sand glossy finishes for better primer grip, and coat evenly with a water-based acrylic primer. This prepares the wall to hold patterned designs firmly while preserving vibrant tones in modern floral wallpapers that pair beautifully with contemporary furniture and metallic accents.
Wood Panels
Wood introduces warmth but demands extra care. Apply a shellac-based primer to block natural tannins or sap stains from bleeding through wallpaper. This barrier maintains color accuracy in your wallpaper, making it perfect for cozy interiors styled with living room floral wallpapers that rely on balanced tones and visible grain contrast for charm and depth.
No matter the surface, meticulous preparation ensures that each strip aligns beautifully and that your floral patterns flow uninterrupted, enhancing the tactile luxury and artistry of your chosen wallpaper design.
Cleaning vs Priming – Understanding Their Roles
| Process | Purpose | Final Effect |
|---|---|---|
| Cleaning | Removes dust, grease, and residue | Ensures adhesive bonds properly |
| Priming | Seals pores and smooths surface | Prevents bubbles and helps reposition strips |
Cleaning clears the surface; priming locks perfection in place. Together, they make even delicate white floral wallpapers appear radiant and well-finished.
Extra Prep for Moisture-Heavy Spaces
Bathrooms, kitchens, or humid zones need moisture-resistant primer to avoid mildew. Combine this with designs like green floral wallpapers that bring freshness and vibrancy while staying resilient under damp conditions.
Proper sealing ensures your walls stay beautiful long after installation — something especially relevant when pairing with floral designs known for their airy, natural charm.
Timing and Patience: The True Secret to Success
Let every stage dry fully before moving to the next. Cleaning, filling, and priming each need at least 24 hours to set. Skipping curing time traps moisture and shortens wallpaper life. A steady pace today means fewer repairs later and a finish worthy of a showroom display.
FAQs About Wallpaper Prep
1. Can wallpaper stick to glossy paint?
Only after sanding. A matte or primed surface gives better grip and even alignment.
2. Should I clean freshly built walls?
Yes, even new construction leaves behind dust that weakens adhesive power.
3. Is primer essential for peel-and-stick wallpaper?
A light primer coat keeps the adhesive balanced and prevents wall damage on removal.
4. How long should I wait after priming?
Usually 24 hours; the surface must be fully dry and smooth.
5. What’s the biggest prep mistake homeowners make?
Applying wallpaper too soon after cleaning or ignoring small surface flaws — both shorten wallpaper lifespan.
Conclusion
Perfect wallpaper application begins with invisible craftsmanship — cleaning and priming. Each stage safeguards against bubbles, uneven seams, and fading over time. By giving walls this thoughtful preparation, your chosen floral wallpaper reveals its full texture, depth, and vibrance. From classic vintage patterns to bold modern botanicals, the right prep turns every installation into a work of art built to last.