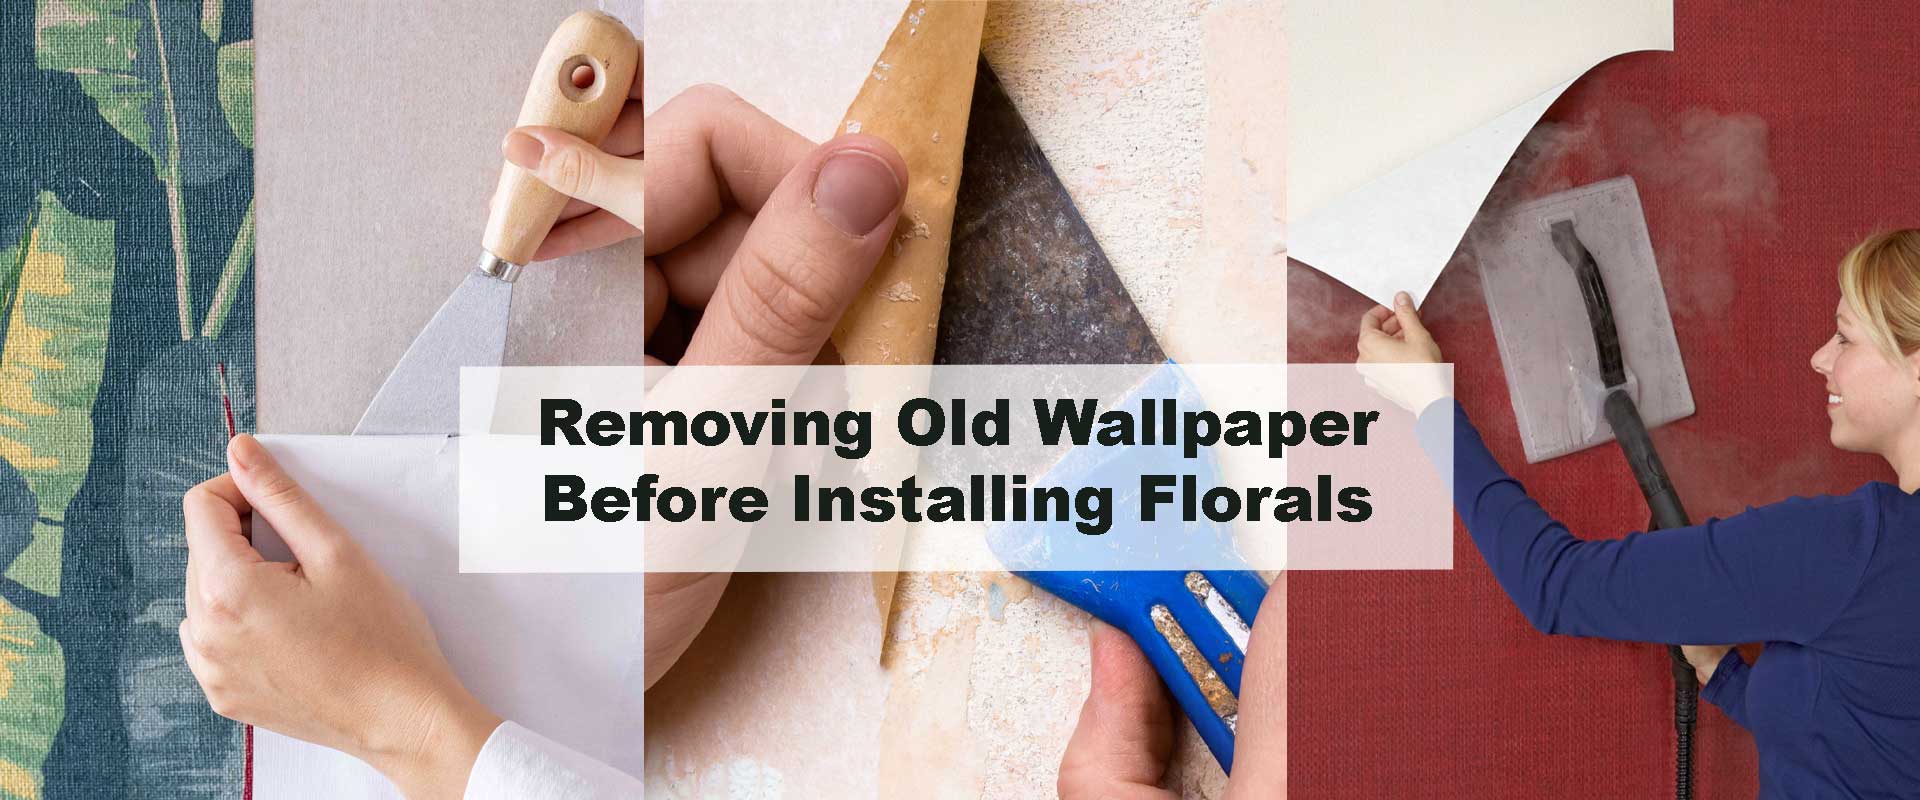
Removing Old Wallpaper Before Installing Florals
Transforming your interiors with floral wallpaper begins long before the first panel is applied—it starts with removing what came before. Old wallpaper layers, hidden glue, or uneven textures can silently ruin even the most beautiful floral designs. By properly removing old wallpaper before installing florals, you create the perfect base for fresh patterns to shine. Whether your vision is a soft watercolor bloom or a dramatic dark botanical, preparing your walls ensures every detail—every petal and vine—adheres smoothly and looks pristine for years to come.
Fresh Beginnings: Why Proper Wallpaper Removal Matters
When revamping your home with floral wallpaper, the first step toward lasting elegance lies in the foundation. Neglecting to remove old paper can lead to bubbling, peeling, or uneven adhesion later on. Over time, adhesive residue or trapped moisture can distort the design and dull the colors. Clean, bare walls give your new floral prints a crisp surface to adhere to, allowing their texture and depth to truly flourish. Whether you’re creating a soft romantic setting or adding botanical drama, starting fresh ensures your chosen pattern reaches its full potential.
Step 1: Assess Your Existing Wallpaper
Before diving into removal, understand what you’re working with. Peel up a corner of your current wallpaper to see if it lifts easily. Peel-and-stick varieties usually come off with minimal effort, while vinyl or traditional pasted papers may require more care and moisture.
Once cleared, your walls become the perfect stage for modern floral transformations—from timeless vintage floral wallpapers that bring classic charm to modern floral wallpapers that elevate minimal interiors with subtle botanical flair.
Step 2: Prepare the Room and Protect Your Space
Wallpaper removal can get messy if you’re not ready. Move furniture away from the walls, lay down drop cloths, and remove outlet covers to avoid damage. Keep tools like a scraper, bucket, and sponge nearby. Start by lightly scoring the wallpaper’s surface to help water soak in deeper.
This careful setup ensures an easier process later—especially when you plan to install detailed designs such as floral wallpapers that demand smooth, even walls for flawless pattern continuity.
Step 3: Soften Adhesive with Steam or Solution
The secret to effortless removal lies in softening the glue. Mix warm water with a few drops of dish soap or use a commercial wallpaper remover. Apply the solution generously with a sponge or sprayer, letting it soak for several minutes. For tough vinyl or layered papers, a steamer can be invaluable—softening adhesive quickly so you can lift large sections without tearing.
Consistent moisture and patience keep your wall surface intact, making it easier to install the next design with precision—especially when aligning floral motifs as demonstrated in how to align floral patterns perfectly.
Step 4: Scrape Carefully and Clean Residue
Once the adhesive softens, use a putty knife or scraper to lift the wallpaper gently from the wall. Work in sections, maintaining steady pressure and keeping the blade flat. Some stubborn areas may need another light spray before lifting.
When the paper is gone, wipe the walls with a sponge dipped in clean warm water. This removes any leftover adhesive that could interfere with new wallpaper adhesion. Allow the walls to dry naturally for at least 24 hours. Perfectly cleaned surfaces help patterns like floral wallpapers for bedrooms and floral wallpapers for living rooms appear crisp and seamless once installed.
Step 5: Smooth, Repair, and Prime
After cleaning, run your hand over the wall to feel for imperfections. Sand down rough patches and fill any small holes or cracks with joint compound. Once smooth, apply a high-quality primer suitable for wallpaper.
Priming creates a sealed surface that promotes strong adhesion and prevents moisture absorption. It also ensures your wallpaper’s color remains true over time. This step is especially vital when using dark floral wallpapers where depth and detail must remain consistent across panels.
Step 6: Timing Your Floral Wallpaper Installation
After priming, let the wall cure for another 24 hours. Humidity and temperature impact drying, so choose a dry day for the best results. Begin hanging your new floral wallpaper from the most visible wall and work outward for perfect symmetry.
Designers who prefer tranquil, professional spaces often draw inspiration from techniques shared in subtle floral wallpaper for professional home offices—where understated botanical patterns bring calm focus to working environments.
Pro Tips for Effortless Wallpaper Removal
- Score, soak, and strip: Lightly score old wallpaper to let moisture penetrate evenly.
- Avoid excessive scraping: Keep tools angled flat to prevent wall damage.
- Use angled lighting: It highlights remaining glue patches or paper fibers.
- Clean tools often: Adhesive buildup can make blades dull or uneven.
- Take your time: Slow removal prevents gouges and surface damage.
Following these practices ensures a polished foundation ready for installation—particularly useful when introducing vibrant patterns like those highlighted in floral wallpapers that boost productivity.
Common Mistakes to Avoid
Even seasoned DIYers make small errors during removal. Avoid these pitfalls to save time later:
- Skipping primer: Causes bubbles under the new wallpaper.
- Leaving old adhesive: Results in bumps and poor adhesion.
- Over-wetting: Weakens plaster or drywall.
- Installing too soon: Trapped moisture prevents proper sticking.
- Ignoring small flaws: These become magnified beneath delicate floral textures.
Essential Tools for Wallpaper Removal
| Tool | Purpose | Pro Tip |
|---|---|---|
| Scoring Tool | Creates small holes to let water soak in | Rotate gently, don’t press too hard |
| Steamer | Softens stubborn adhesives | Ideal for vinyl and multiple layers |
| Putty Knife | Removes loosened wallpaper | Use flexible stainless steel |
| Sponge & Warm Water | Cleans leftover glue | Replace water frequently |
| Primer | Seals and prepares wall | Choose a wallpaper-specific primer |
Creating the Perfect Base for Your Floral Walls
Clean, primed walls act as the ideal backdrop for floral creativity. Once the old paper is gone, you’re free to introduce the style that fits your aesthetic—perhaps soft pinks from floral wallpapers pink or the calming tones of floral wallpapers green.
Each design responds differently to light and texture, which is why wall preparation is crucial. Smooth surfaces highlight intricate patterns, making watercolor petals or vintage botanical prints appear hand-painted. Proper removal turns installation into a joy rather than a challenge.
When to Call a Professional
DIY wallpaper removal can be satisfying, but older homes or heavily glued surfaces may benefit from professional help. Contractors have access to industrial-grade steamers and adhesives that speed up the process without damaging plaster. If you plan to install high-end floral designs with complex repeats or large-scale motifs, expert removal ensures long-term perfection and prevents costly touch-ups.
Environmental Considerations in Wallpaper Removal
Modern home projects often emphasize sustainability. When stripping old wallpaper, collect waste responsibly—avoid rinsing adhesives down the drain. Use biodegradable cleaning solutions and recycle any leftover paper where possible. A mindful approach ensures that even while refreshing your walls, you’re contributing positively to the environment.
FAQs About Removing Old Wallpaper Before Installing Florals
1. Can I apply new floral wallpaper over existing wallpaper?
Not recommended. Layers beneath may loosen or bubble, damaging your fresh design.
2. What’s the most effective way to remove vinyl wallpaper?
Steamers work best. The heat softens glue, allowing you to lift large sections easily.
3. How long should walls dry before new wallpaper installation?
At least 24 hours, ideally 48 in humid environments, to avoid moisture trapping.
4. Do I need a primer before applying new wallpaper?
Yes. It ensures smooth adhesion and protects your walls for future updates.
5. Can I handle removal myself or hire help?
With patience and the right tools, DIY works beautifully for most rooms. Larger or older projects may benefit from professional service.
Conclusion
Taking the time to remove old wallpaper before installing floral wallpaper ensures durability, clarity, and lasting beauty. Clean walls help new designs adhere perfectly, letting every bloom and leaf reveal its texture and color with precision. Whether your style leans toward the refined charm of floral wallpapers vintage or the soft tranquility of floral wallpapers watercolor, careful preparation turns your home into a seamless floral canvas.
Let each space blossom effortlessly with the complete floral wallpapers collection—where preparation meets artistry for timeless interiors that truly flourish.