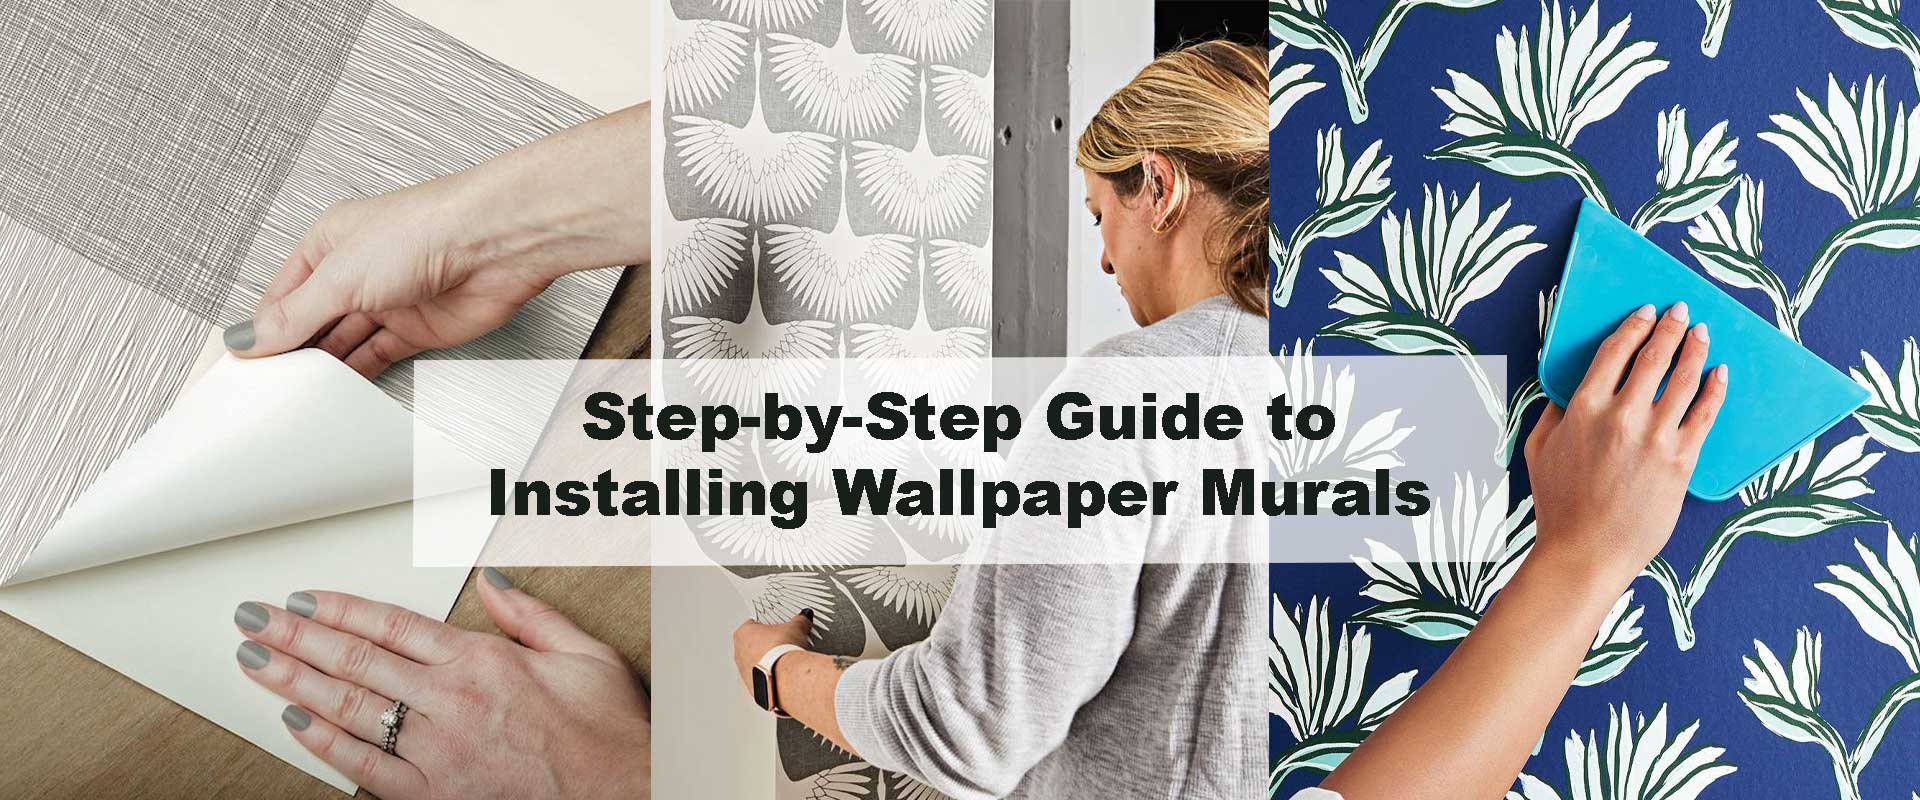
Step-by-Step Guide to Installing Wallpaper Murals
Wallpaper murals bring life, color, and dimension to plain walls, transforming interiors into expressive spaces. From floral prints to panoramic cityscapes, they create visual depth and emotion in any room. With the right preparation and a steady approach, installing wallpaper murals becomes an easy, rewarding process that completely redefines your walls.
Preparing Your Wall for a Smooth Installation
Every flawless mural begins with proper wall prep. Start by cleaning the surface with mild soap and water, ensuring it’s free from dust or grease. Once dry, remove any old wallpaper and repair cracks with filler for a smooth base. Lightly sand rough spots, then wipe again to clear residue.
Using primer or lining paper improves adhesion—particularly for light-toned or intricate floral wallpaper murals. In spaces exposed to humidity, a mold-resistant primer adds durability and prevents peeling over time. For guidance on how floral designs behave under various conditions, many decorators refer to methods used when removing old wallpaper before installing florals, as similar preparation ensures lasting adhesion.
Measuring and Planning Your Mural Layout
Precision ensures a seamless outcome. Measure your wall’s width and height, then compare those to the mural’s dimensions. Unroll each panel on a flat surface, arranging them in order to visualize the overall image. Mark the wall’s midpoint with a pencil and level—your central guide for balanced placement.
When working with artistic layouts such as watercolor floral murals, symmetry makes a big impact. Centering the most detailed imagery enhances focus and flow. This concept also aligns with styling principles mentioned in how to align floral patterns perfectly, which emphasizes pattern continuity for professional results.
Applying Adhesive or Activating the Paste
Different mural types require different application methods:
- Paste-the-wall murals: Apply adhesive directly onto the wall using a roller.
- Paste-the-paper murals: Spread adhesive on the back of the panel, allowing it to rest briefly before hanging.
- Peel-and-stick murals: Peel the backing gradually and smooth onto the wall.
If your mural includes delicate detailing or painterly textures—like those in the watercolor floral wallpaper collection—handle panels gently to preserve surface integrity. Consistent paste coverage ensures no dry spots, especially along the edges.
Hanging the First Panel with Precision
The first panel defines the success of the entire project. Position it carefully along your center guideline and align the top edge with the ceiling or molding. Smooth downward with a wallpaper brush, pressing from the center outward to remove bubbles.
Check vertical alignment frequently to avoid drift. Trim excess from the top and base with a sharp knife. When applying bold tones or layered textures—like designs from the dark floral wallpaper collection—ensure edges are tightly butted for a continuous, immersive look.
Matching Patterns and Managing Seams
Matching patterns is where art meets precision. Align imagery at seams so each panel merges naturally with the next. Use a seam roller lightly to press down joins without stretching the paper. Always cut overlaps with a straightedge and sharp blade for clean seams.
Designs rich in detail, such as vintage floral murals, look especially seamless when pattern alignment is handled with care. Consistent lighting and a steady rhythm during installation make this stage easier, similar to how decorators approach fixing wallpaper seams and bubbles—a useful practice that minimizes imperfections while preserving color consistency.
Eliminating Bubbles and Surface Imperfections
Even experienced installers encounter air pockets, but correcting them early ensures smooth results. Gently lift and reapply the affected area or use a soft smoothing tool to move air toward the edges. Persistent bubbles can be punctured with a fine needle before re-smoothing.
Lighting helps you identify flaws before the adhesive dries. For glossy or metallic designs—such as those in the modern floral wallpaper collection—this step is crucial to maintain a flawless, polished finish.
Finishing Touches for a Professional Look
After all panels are up, inspect the mural from several angles. Trim along skirting boards and corners, and clean away paste residue using a soft, damp cloth. Maintain moderate room temperature while the mural cures to prevent expansion or peeling.
Accent lighting brings out visual texture and depth, especially with pastel prints from the pink floral wallpaper selection. For an added design tip, matching wall tones with adjacent décor elements—as discussed in how to mix animal and floral wallpapers for kids—can make the mural feel integrated rather than applied.
Maintaining Your Wallpaper Mural
Once installed, care is minimal. Regular dusting with a dry microfiber cloth keeps it fresh. Avoid moisture unless your mural is vinyl-based or peel-and-stick. Light stains can be dabbed gently with a soft sponge.
For spaces such as living areas or creative offices, choose complementary designs from the living room floral wallpapers or office floral wallpaper ideas. These maintain cohesion while introducing subtle artistic flair across connected rooms.
FAQs About Installing Wallpaper Murals
1. Can wallpaper murals go on textured walls?
Only if the surface is smoothed first. Textures prevent full adhesion and can show through the mural.
2. What temperature works best during installation?
Keep the room between 18–25°C to ensure proper adhesive curing and bubble-free application.
3. Should I overlap or butt-join panels?
Most modern murals are designed for butt-joining to create a seamless image.
4. How soon can I trim edges?
Trim while adhesive remains soft—cleaner cuts and no tearing.
5. Are murals reusable?
Peel-and-stick murals can often be reused on smooth, dry surfaces, though traditional pasted ones cannot.
Conclusion
Installing wallpaper murals combines creativity with craftsmanship, turning a blank wall into an expressive art piece. With proper preparation and patience, each panel aligns into a breathtaking composition that reflects your style. Use these steps as your go-to process, and take cues from design guides like reusing peel and stick wallpaper to better understand mural materials and handling. Whether you choose minimalist tones or bold botanicals, collections like floral wallpapers and aesthetic floral wallpapers offer endless inspiration for bringing art into your space with lasting impact.