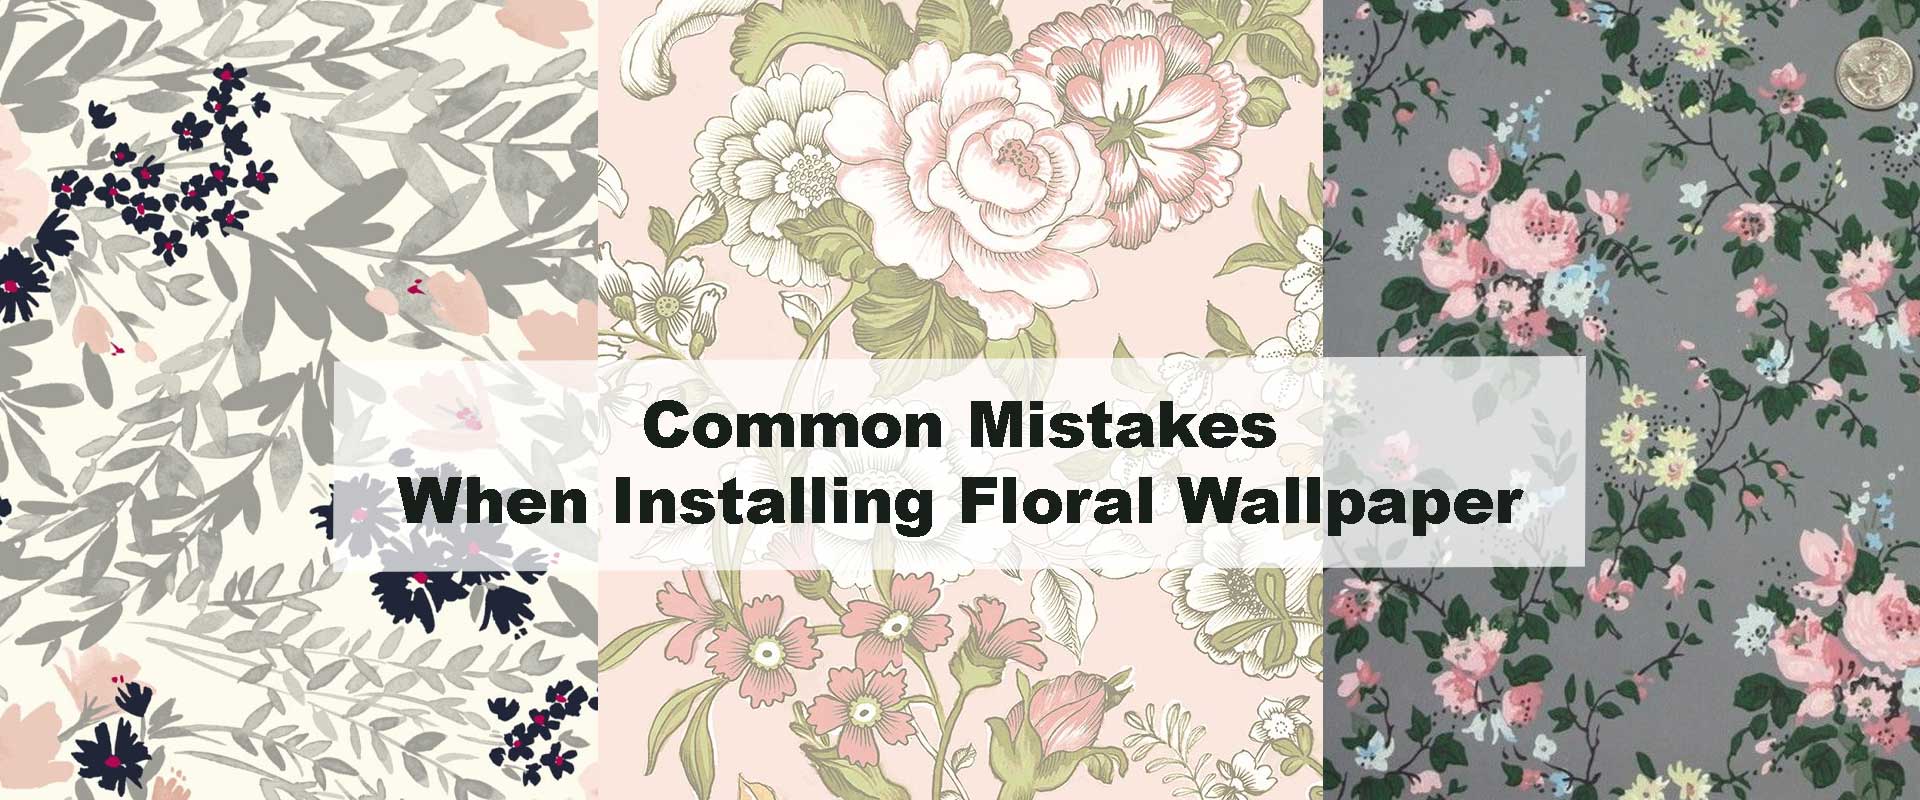
Common Mistakes When Installing Floral Wallpaper
Floral wallpaper can instantly transform a plain wall into a vibrant, personality-filled backdrop — but even the most stunning print can look off if applied incorrectly. Common mistakes when installing floral wallpaper include poor preparation, uneven patterns, and using the wrong adhesive. By learning what to avoid, you’ll ensure your wallpaper project turns out as beautiful as the design you chose.
1. Ignoring Proper Wall Preparation
One of the most common mistakes when installing floral wallpaper is skipping the wall prep stage. Even a hint of dust, grease, or flaking paint can weaken adhesion and cause edges to peel or bubbles to appear later. Always clean, sand, and prime the walls before you start — smooth, dry surfaces ensure the wallpaper adheres evenly. Our detailed guide on Wallpaper Prep: Cleaning and Priming Your Walls explains how to achieve the perfect base that helps your floral designs stay beautiful for years.
2. Misaligning Floral Patterns
Floral wallpapers rely on the harmony of repeated motifs — even a small mismatch in alignment can disrupt that natural rhythm. Before you start cutting, always identify the pattern repeat and mark each panel to match the blooms or vines precisely. Use a laser level or plumb line to keep each strip vertically straight and maintain flow across the wall. For visual consistency tips and alignment techniques, see How to Align Floral Patterns Perfectly.
3. Using the Wrong Adhesive
Not every wallpaper works with the same adhesive, and using the wrong one can cause slippage, uneven sticking, or even tear delicate floral prints. Always check the type — whether paste-the-wall, paste-the-paper, or peel-and-stick — and follow the manufacturer’s directions carefully. In humid or high-traffic areas, choose a stronger adhesive suited for moisture resistance. Learn more about ideal options in The Best Wallpaper Adhesives for Floral Prints.
4. Skipping Accurate Measurements
Rushing through measurements often leads to pattern mismatches or wasted material. Always measure your wall height precisely, adding 2–3 extra inches for trimming at the ceiling and skirting. Double-check the floral repeat before cutting to ensure each piece continues seamlessly from the last. Begin from a perfectly straight guideline to prevent slanted application and uneven seams — accuracy at this stage defines the final result.
5. Overlooking Corners and Edges
Corners, window frames, and edges are where most installation issues occur. Stretching or forcing wallpaper into corners can distort floral motifs and cause tearing. Instead, gently overlap and trim small sections to maintain symmetry and balance. Mastering these techniques keeps your pattern flow intact — discover professional tips in How to Wallpaper Corners & Windows.
6. Forgetting to Smooth Out Bubbles
Even the most careful installation can trap tiny air pockets. These bubbles not only disrupt the smooth surface but may lead to peeling over time. Use a smoothing brush or plastic squeegee to press bubbles outward from the center toward the edges. For stubborn ones, gently lift and reapply the wallpaper before the adhesive dries. Patience here ensures a flawless, high-end finish.
7. Not Allowing Proper Drying Time
A frequent DIY mistake is rushing to decorate immediately after wallpapering. Fresh adhesive needs sufficient curing time to bond completely. Avoid direct airflow or sunlight that can dry it too fast and cause curling seams. Depending on humidity, let it rest for at least 24–48 hours before placing wall décor or switching on fans.
8. Ignoring Lighting and Room Placement
Lighting can completely alter the appearance of floral designs once installed. A soft blush or pastel may appear dull in dim corners but glow beautifully in natural light. Conversely, bold prints can dominate small rooms. Always test samples under both daylight and artificial lighting before covering a full wall. This helps you choose a floral palette that enhances your room’s mood and proportions.
9. Choosing the Wrong Floral Scale for the Space
Scale makes or breaks a design. Oversized florals can overpower compact rooms, while small, delicate motifs may fade in large spaces. Balance pattern size with your wall area — large blooms bring drama to spacious living rooms, while smaller, watercolor florals add serenity to bedrooms or vanity corners. For design inspiration, explore our Floral Wallpapers Collection, including graceful vintage floral wallpapers and sleek modern floral wallpapers for different moods and spaces.
10. Skipping a Test Strip
Before committing to full installation, apply a test strip to see how your chosen floral design behaves with your wall texture, lighting, and adhesive. It reveals color variations, alignment accuracy, and paste performance — saving time and effort later. A short trial run ensures every petal, stem, and motif looks just as stunning once the project is complete.
FAQs About Common Wallpaper Mistakes
1. How can I fix bubbles after wallpaper dries?
Use a fine needle to puncture the bubble, gently press out the trapped air, and smooth it flat.
2. What should I do if my floral patterns don’t align?
Peel back the section before it fully dries, reposition, and smooth from the center outward.
3. Can I reuse leftover wallpaper strips?
Yes, but store them flat and dry. Keep pattern direction consistent when reapplying.
4. Why is my wallpaper peeling at the corners?
Likely poor adhesion or unprimed surfaces — clean thoroughly and reapply with proper paste.
Conclusion
Floral wallpaper adds timeless charm and personality to any room, but success depends on attention to detail. By avoiding these common mistakes when installing floral wallpaper, you’ll achieve a seamless, professional-looking finish. For further styling ideas, look through our floral bedroom wallpapers and living room floral designs to create interiors that bloom beautifully year after year.